


38
Installing the Driver & Software
Make sure that you have completed the instructions from Step 1 “Setting Up
the Machine” on pages 2 - 8.
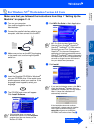
1
Make sure that the NC-9100h (Network
Print/Fax Server) is installed into the MFC.
(See Optional accessories in Chapter 23 of
the User’s Guide.)
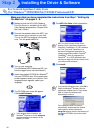
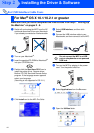
2
Connect the network cable to the MFC, and
then connect it to a free port on your hub.
Turn on the MFC by plugging in the power
cord. Turn the power switch on.
3
Turn on your computer.
(For Windows
®
2000 Professional/XP, you
must be logged on as the administrator.)
4
Insert the supplied CD-ROM for Windows
®
into your CD-ROM drive. If the model neme
screen appears, select your machine. If the
language screen appears, select your
language.
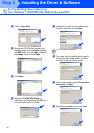
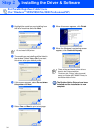
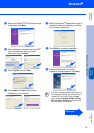
5
The CD-ROM main menu will appear.
Click Install Software.
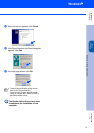
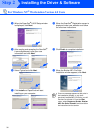
6
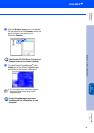
Click MFL-Pro Suite in Main Application.
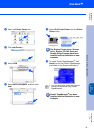
7
Click Install.
For Network Interface Cable Users
(For Windows
®
95/98/98SE/Me/NT/2000 Professional/XP)
If this window does not appear, use
Windows
®
Explorer to run the setup.exe
program from the root directory of the
Brother CD-ROM.
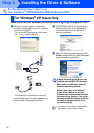
MFL-Pro Suite includes Printer Driver,
Scanner Driver, ScanSoft
®
PaperPort
®
,
ScanSoft
®
TextBridge
®
, PC-FAX software,
and True Type fonts. PaperPort
®
is a
document management application for
viewing scanned documents. ScanSoft
®
TextBridge
®
, which is integrated into
PaperPort
®
, is an OCR application that
converts an image into text and inserts it into
your default word processor.
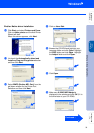
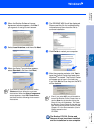
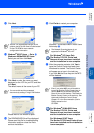
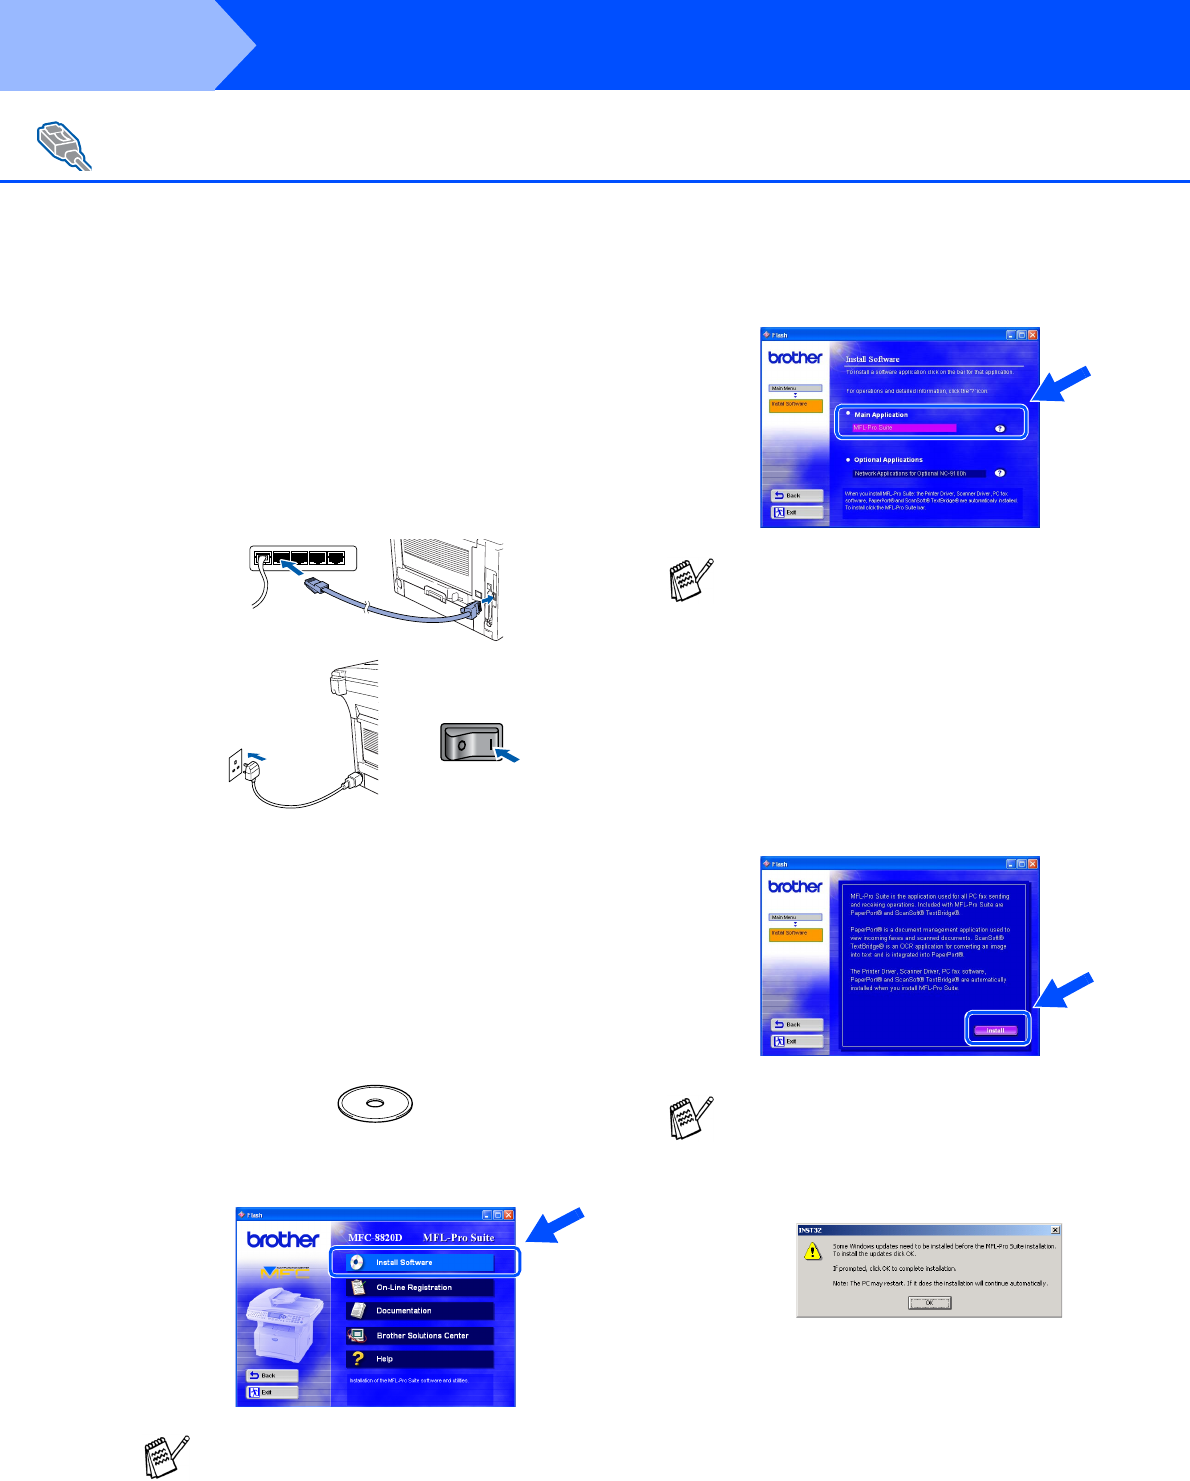
If you see the following screen, click OK to
install the Windows
®
updates. After the
updates are installed your PC may restart.
Note: If it does the installation will
automatically continue.
If the installation does not continue
automatically, please open the installer
menu again by double-clicking the
setup.exe program from the root directory of
the Brother CD-ROM, and continue from
Step
4
.
Step 2