


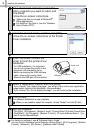

Installing the software
16
For details on software, see the P-touch Editor Help.
6
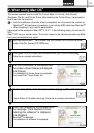
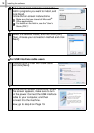
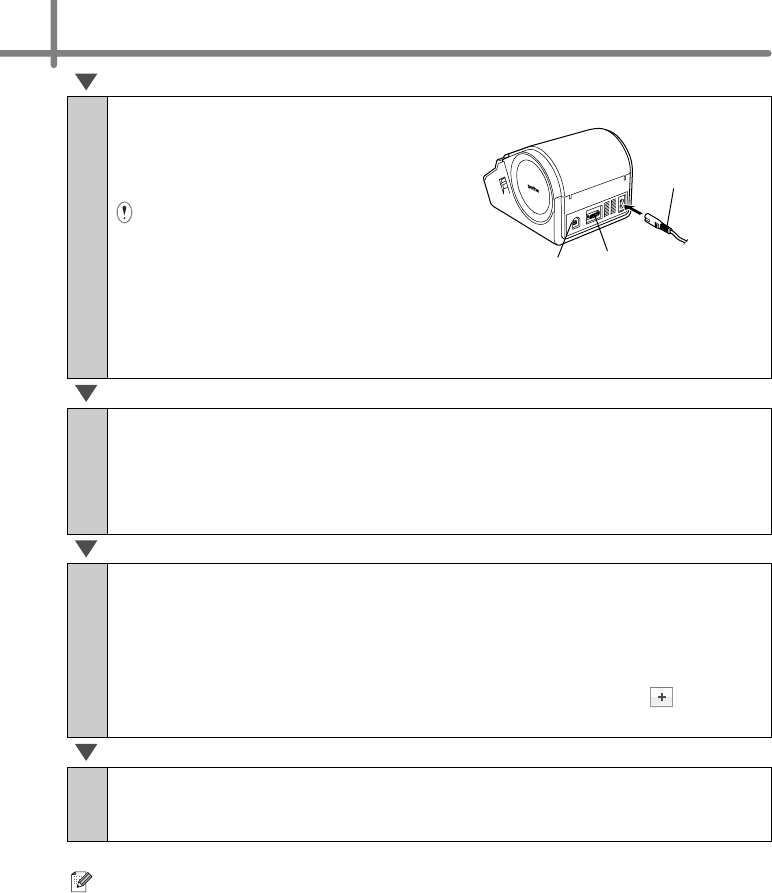
After restarting the computer,
connect your printer to the
computer by using the USB cable,
and then turn on the printer.
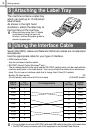
· Before connecting the USB interface
cable, remove the caution label
affixed to the USB port of the
machine.
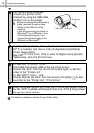
· If you are connecting the printer to
Macintosh
®
via a USB hub, it may
not be detected correctly. If so,
connect the printer directly to the
USB port on Macintosh
®
.
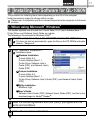
7
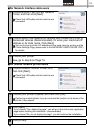
(For Mac OS
®
X 10.3.9 - 10.4.x) Double click the drive where Mac
OS
®
X is installed, and click in order of [Applications]-[Utilities]-
[Printer Setup Utility].
(Mac OS
®
X 10.5.x-10.6) Click in order of [Apple menu]-[System
Preferences], and click [Print & Fax].
8
For Mac OS
®
X 10.3.9 - 10.4.x
Click [Add] and choose USB at the top of the screen.
Choose "QL-XXX" from the list and click [Add] again to add the
printer to the "Printer List".
For Mac OS
®
X 10.5.x - 10.6
Choose "Brother QL-XXX" from the list and click [Add] / to add
the printer to the "Printer List" / "Print & Fax".
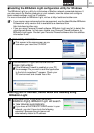
9
When the screen returns to [Printer List / Print & Fax] screen, check
the "QL-XXX" is added, and close [Printer List / Print & Fax] screen.
Now you can use the machine.
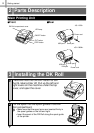
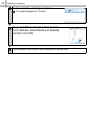
USB port
Serial port
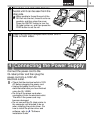
Power cord