


INSTALLATION
3-4
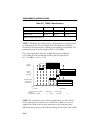
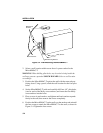
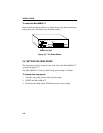
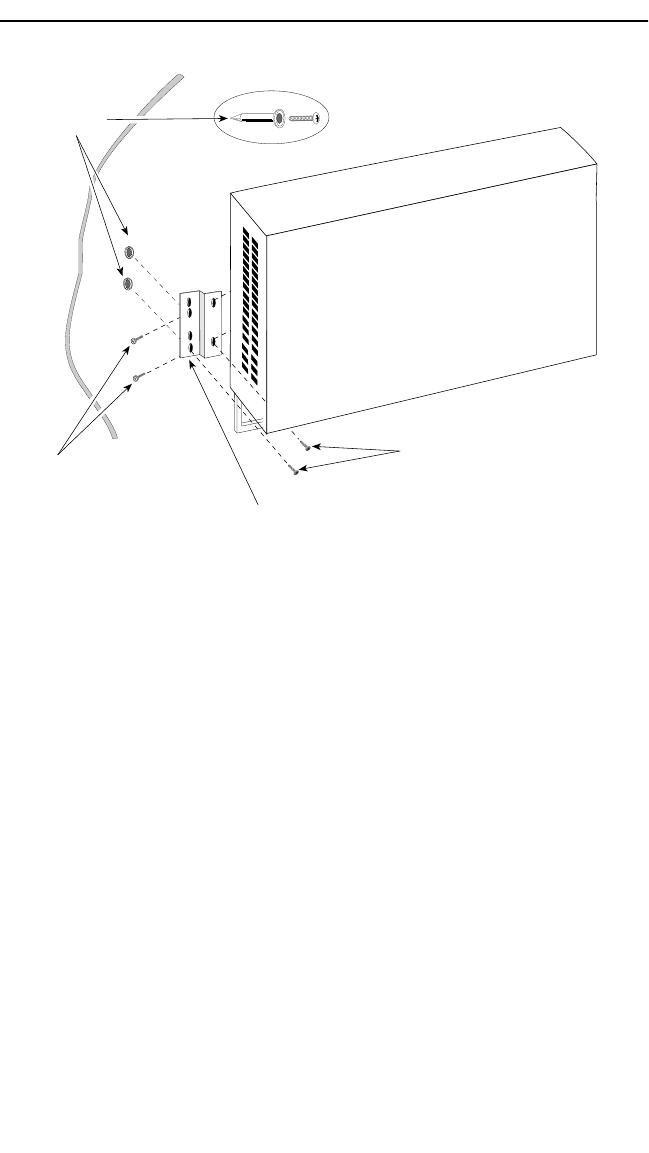
Figure 3-4. Wall-Mounting the MicroMMAC-T
2. Select a wall location within seven feet of a power outlet for the
MicroMMAC-T.
WARNING: When drilling pilot holes, any electrical wiring inside the
wall may present a potential SHOCK HAZARD. Select a wall location
accordingly.
3. Position the MicroMMAC-T against the wall with the network port
facing down. Using a pencil, mark the wall location for the four pilot
holes.
4. Set the MicroMMAC-T aside and carefully drill four 1/4” pilot holes,
(one for each of the Molly screw anchors) and insert the four Molly
screw anchors into the holes.
5. Place a screw in each anchor, and tighten until each anchor expands
firmly in the wall; then remove the screws completely.
6. Position the MicroMMAC-T on the wall over the anchors and reinstall
the four screws to attach the MicroMMAC-T to the wall, as shown in
Figure 3-4. Tighten the four screws.
Molly Screws
Wall Mounting Bracket
Molly Screw
Anchors
Bracket Screws