Clearing Paper Jams
6-4
Troubleshooting
6
IMPORTANT
After you have cleared all the paper jams, make sure to return all the levers and covers
to their original positions. Once you have removed all of the jammed paper, printing
resumes.
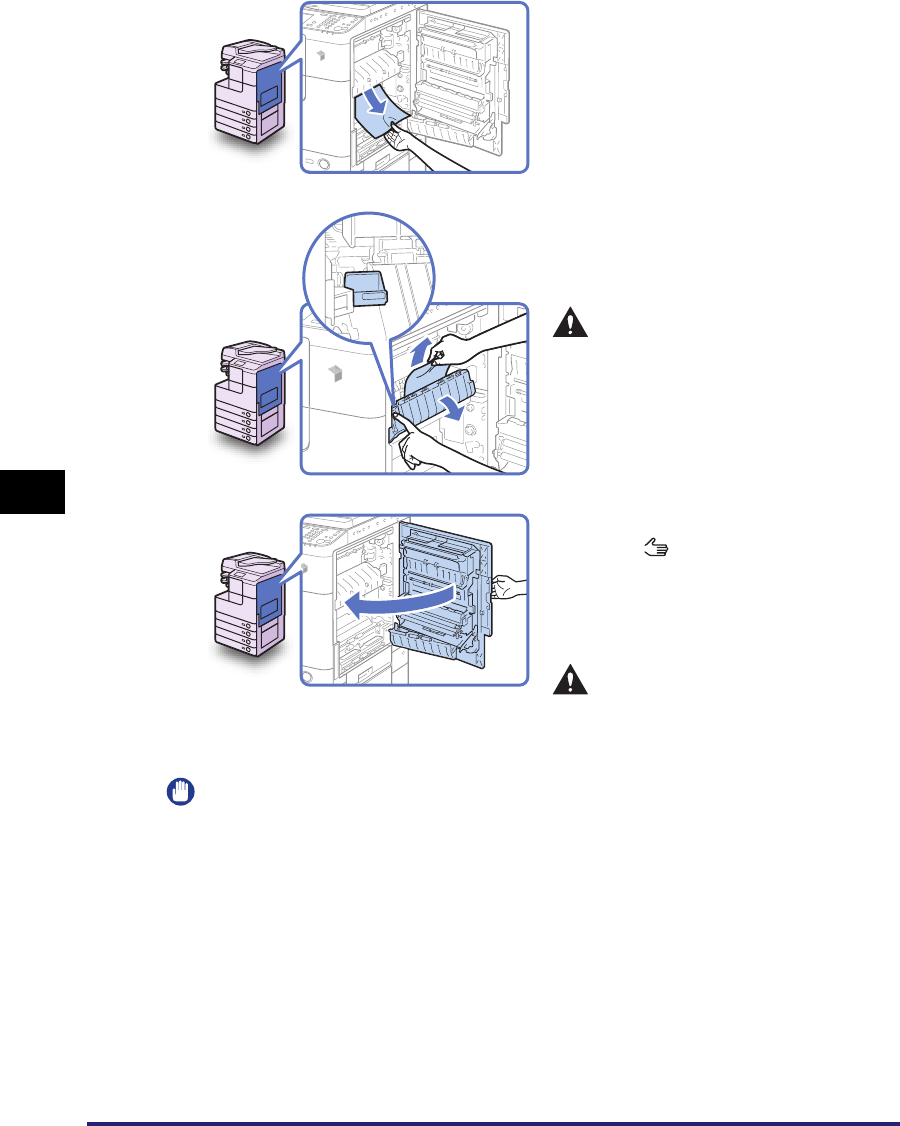
2
Remove any jammed paper
protruding from the lower part of
the fixing unit.
3
Pull down the upper cover of the
fixing unit by the tab, and remove
any jammed paper.
CAUTION
The fixing unit and its surroundings
are subject to high temperatures.
When removing jammed paper, do
not touch anything in this area
except the jammed paper or the
upper cover.
4
Place your hand where the hand
symbol ( ) is located on the
right cover of the main unit, and
then gently close the right cover
until it clicks into place.
CAUTION
When closing the cover, be careful
not to get your fingers caught, as
this may result in personal injury.
