


7-7
Using the Scan Functions
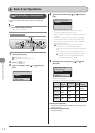
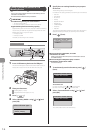
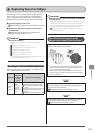
6 Press [ ] (Start).
Scanning starts.
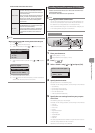
When scanning from the feeder, or set the
<File Format> to <JPEG>
After scanning the document, the scanned data is sent to
the USB memory.
When scanning from the platen glass, or set the
<File Format> to other than <JPEG>
Proceed to Step 7.
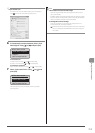
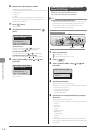
7 To continuously scan the document, press [ ]
(Start).
Scan Next: Press Start
<Start Sending>
<Cancel>
Destinations: 1
No. of TX Pages: 1
To Cancel the scan
(1) Select <Cancel> using [ ] or [ ] and press [OK].
(2) Select <Yes> using [ ] or [ ] and press [OK].
To confirm the destination
Select <Destinations: > using [ ] or [ ] and press [OK].
To confirm the number of transferred pages
Select <No. of TX Pages> using [ ] or [ ] and press [OK].
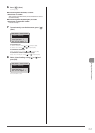
8 Select <Start Sending> using [ ] or [ ] and
press [OK].
Scan Next: Press Start
<Start Sending>
<Cancel>
Destinations: 1
No. of TX Pages: 1
The scanned file is sent.