


17
Preparation Before Use
This chapter describes how to prepare the scanner to scan
documents.
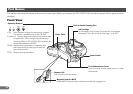
Perform the following steps to set up the CR-135i/CR-190i. Refer to the
section for each step for details about that step.
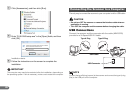
A Check your operating environment. (See “Checking Your
Operating Environment,” on p. 18.)
B Install the software. (See “Installing the Software,” on
p. 19.)
Install the Scanning Utility provided with the CR-135i/CR-190i.
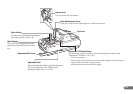
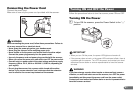
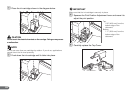
C Connect the scanner to a computer. (See “Connecting
the Scanner to a Computer,” on p. 20.)
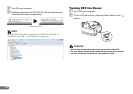
D Turn ON the power. (See “Turning ON the Power,” on
p. 21.)
E Automatically installing the device driver. (See p. 22.)
The device driver is installed automatically when Windows
recognizes the CR-135i/CR-190i.
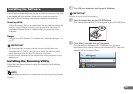
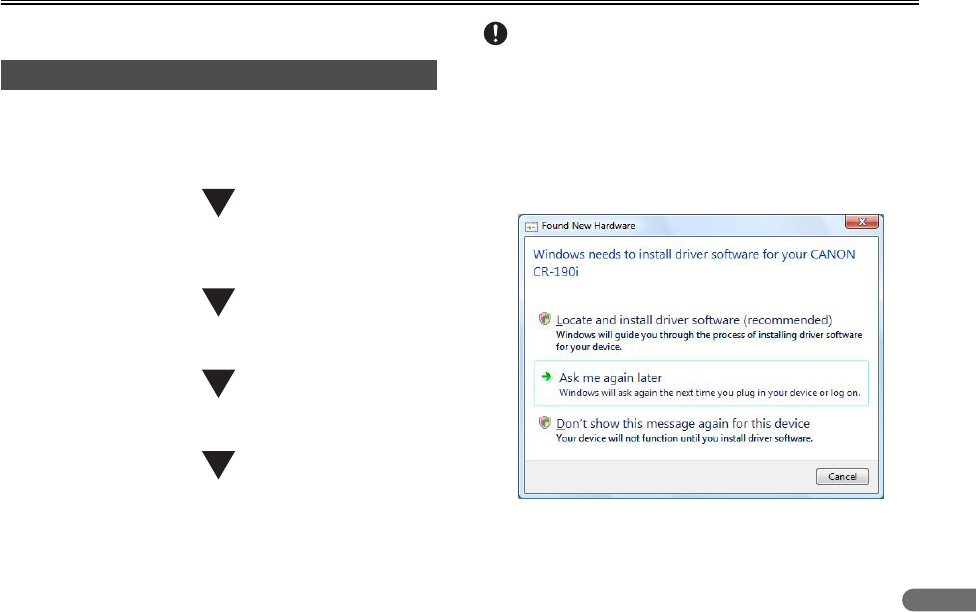
IMPORTANT
• To have the device drivers installed automatically when the computer
recognizes the CR-135i/CR-190i, the software needs to be installed
before the CR-135i/CR-190i is connected to the computer.
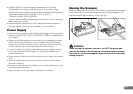
• If you connect the computer and turn ON the CR-135i/CR-190i before
installing the software, the following wizard screen appears. If this
happens, click [Cancel], turn OFF the CR-135i/CR-190i, and then install
the software.
The following wizard screen is an example in Windows Vista. When a
similar wizard screen appears in Windows XP/7, click [Cancel].
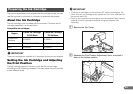
Setting Up the Scanner
Wizard Screen (Windows Vista)