


141
Network Settings on the Projector
Installation Manual Connecting to a Networ
k
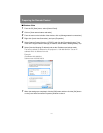
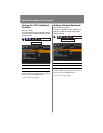
TCP / IP Setting
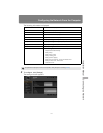
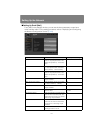
[TCP/IP setting]
Configure the projector TCP / IP settings.
When [TCP/IP setting] is selected, the win-
dow shown below appears. Use the [] /
[ ] buttons to select the IP address, then
press the OK button. Next, use the [ ]
and [ ] buttons to select the digit and the
[] / [ ] buttons to change the value.
Press the OK button, then set the subnet
mask and gateway address in the same
way. Finally, select [Enter].
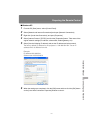
• The factory defaults are shown below.
IP address 192.168.254.254
Subnet mask 255.255.255.0
Gateway address 0.0.0.0
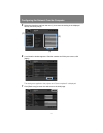
• Setting cannot be made when [DHCP]
(P140) is [On].
• If an invalid value is entered, the message
“Invalid entry” appears. If this occurs,
enter a valid value.
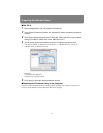
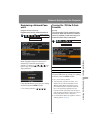
Initializing Network Settings
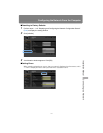
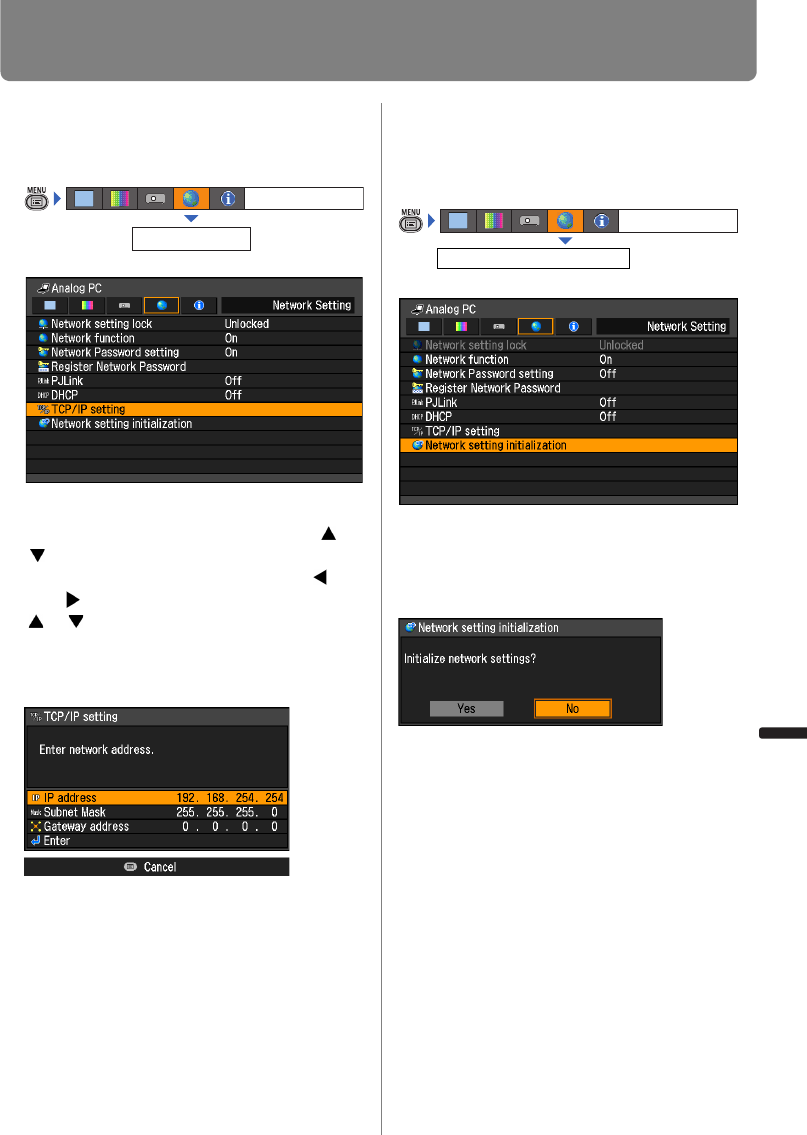
[Network setting initialization]
You can initialize the projector network set-
tings.
When [Network setting initialization] is
selected, the window shown below
appears. Select [YES] then press the OK
button.
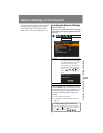
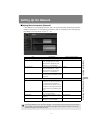
• The following items are initialized.
Network Password setting
Register Network Password
PJLink
DHCP
IP address
Subnet mask
Gateway address
E-mail sender address
E-mail recipient address
Projector name
Location
Network Setting
TCP/IP setting
Network Setting
Network setting initialization