47
Starting Projection
User’s Manual Projectin
g
an Ima
g
e
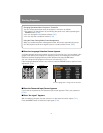
■When Notebook Computer Screen Does Not Appear
Set your notebook computer to output signals to an external monitor. For more details,
refer to “Changing Notebook Computer Screen Output” below.
■Adjusting Image
• For the display resolution of the computer, select “1920 x 1200 pixels” or the resolution
closest to the output signal resolution of the computer. (P50)
• Use the auto PC function to adjust shift in computer image or the flickering of the
screen. (P51)
• Use the ZOOM button to adjust the size of the projected image. (P58)
• Use the FOCUS button to correct the focus adjustment if necessary. (P59)
• Use the
D.SHIFT/KEYSTONE
button to adjust keystone correction if necessary. (P62)
• Select the aspect ratio of the projected image (screen aspect) or a screen mode
(aspect) according to the aspect ratio of the screen, type of input image signal etc.
(P52 - P57)
• Select an image mode depending on the projected image. (P64)
Changing Notebook Computer Screen Output
With a notebook computer, the user must turn on the external monitor output on the com-
puter side.
This operation is not required for a desktop computer.
■Turning on External Monitor Output
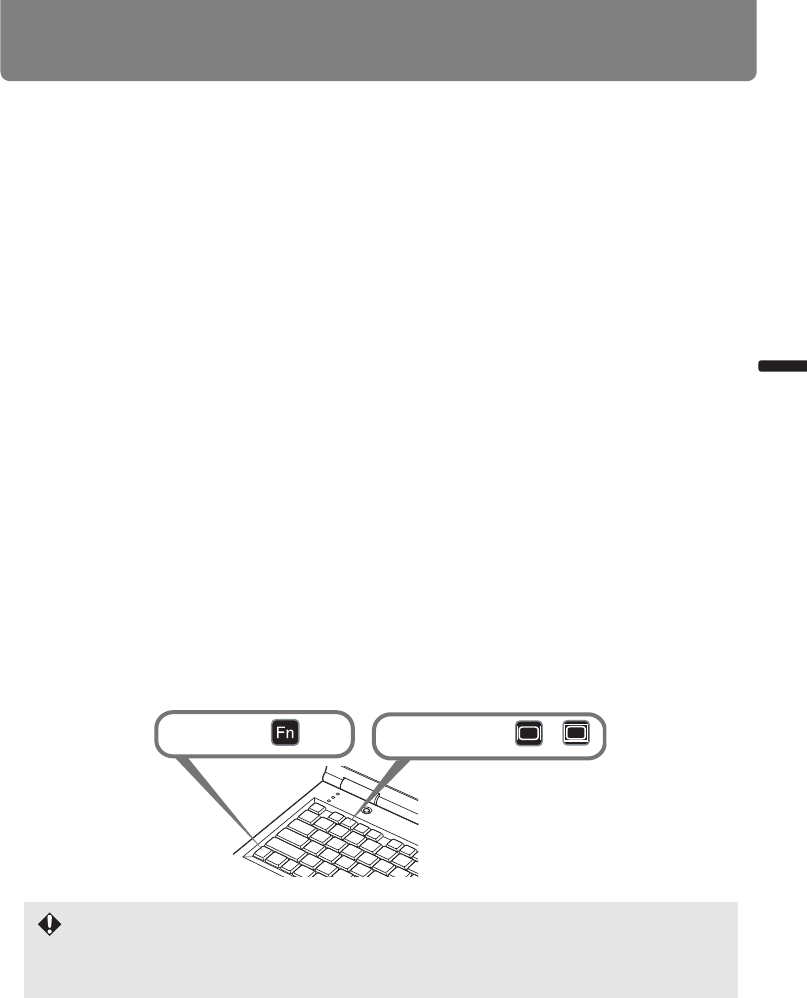
You can turn on the external monitor output via keyboard operation.
To turn on the external monitor output with most computers, press the function key ([F1] to
[F12]) which is marked with the external monitor icon while holding down the [Fn] key.
• The function key you use and the method used to turn on the external monitor output vary
depending on the model. For details, see the manual for your notebook computer.
• With Windows 7, you can turn on image output by holding down the Windows logo key
and pressing the [P] key.
While pushing key
Press a key such as or .


