


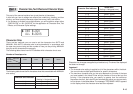


E-19
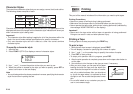
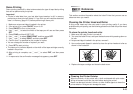
• An easy way to remove the backing from a tape
and expose the adhesive surface is to bend the
tape near one of its ends. This should cause the
tape and its backing to separate, allowing you to
pull them apart.
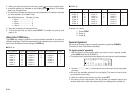
Print Preview
You can use the print preview screen to get an idea of what the printout will look
like without actually printing it.
1. Press FUNC and then PRINT (PREVIEW).
The print image that appears scrolls on the display for easy viewing.
2. To stop the scrolling, press SET. Press SET again to restart scrolling.
3. Exiting preview will return you automatically to the screen that was displayed
prior to starting preview.
* To cancel preview part way through, press ESC.
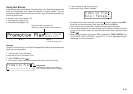
Feeding the Tape
While printing is paused between prints, you can feed the tape to create a margin
between prints.
1. Press FUNC and then 7 (FEED).
This will feed the tape approximately 20.5 mm.
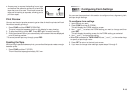
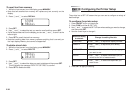
Part 7 Configuring Form Settings
You can use the procedure in this section to configure mirror, alignment, pitch,
and tape length settings.
To configure form settings
1. Input the text you want.
2. Press FUNC and then 5 (FORM).
This will display the FORM selection screen.
3. Use z and x to select the FORM setting you want to change and then
press SET.
This will display the setting screen for the FORM setting you selected.
4. Use z and x to change the setting.
• When FIX is selected for TAPE LENGTH, use c and v, or the number keys
to specify a tape length value.
5. Press SET to return to the text input screen.
6. If you want to change other settings, repeat steps 2 through 5.