24
To save edited presentation data
Either click the button or select [File] - [Save Presentation File]. This saves the edited
presentation data by replacing the original data.
To save edited presentation data as a new file
1
Either click the [Save] button or select [File] - [Save Presentation File As].
z This will display the Save As dialog box.
2
Enter the file name you want and then click the [OK] button.
z This will display a dialog box for specifying the location where you want to store the file.
3
Specify the location where you want to store the file and then click the [OK]
button.
To save presentation data image files only
Note
Perform the following operation to save the image files only (without creating a
presentation file) when you want the images to be optimized for the projector’s Viewer
setup menu settings while performing a presentation using the Data Projector’s Viewer
function.
1
Select [Tools] - [Options] to display the Options dialog box.
2
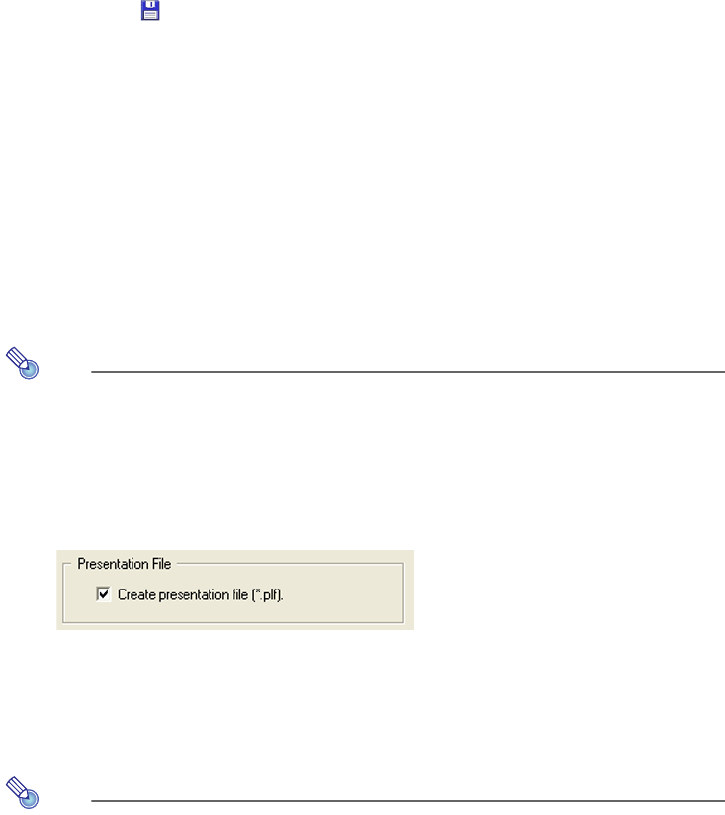
Clear the check box next to “Create presentation file (*.plf).”
3
Click the [OK] button to close the dialog box.
4
Perform the procedure under “To save edited presentation data” (page 24) or “To
save edited presentation data as a new file” (page 24).
z Only the image files are saved to the specified folder, without creating a presentation file.
Note
In order to create a presentation file when you perform a save operation, display the
Options dialog box and select the check box next to “Create presentation file (*.plf).”
