16
To specify the screen resolution of the ECA file or PtG file
1.
Right-click the left side of the EZ-Converter FA window.
2.
On the menu that appears, click “Output Resolution”.
3.
On the sub-menu that appears, select the resolution you want.
z You should normally use the 1024 × 768 setting, which is the resolution of this projector. If you
are unable to select 1024 × 768 for some reason, select 800 × 600.
To specify the maximum animation display time
1.
Right-click the left side of the EZ-Converter FA window.
2.
On the menu that appears, click “Max Animation Display Time”.
3.
On the sub-menu that appears, select a maximum animation display time value
(in seconds).
z Available sub-menu options are 10 seconds, 20 seconds, 30 seconds, and 60 seconds.
z The option you select remains in effect until you change it.
To play back an ECA file or PtG file on your computer
1.
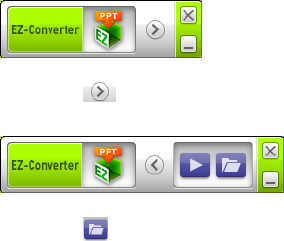
On your computer, start up EZ-Converter FA.
z This will display the EZ-Converter FA window.
2.
Click the button at the top of the EZ-Converter FA window.
z This will display two more buttons as shown below.
3.
Click the button.
z This displays a dialog box for opening files.
4.
Select the ECA file or PtG file you want to play back and then click the [Open]
button.
