41
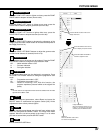
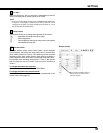
Lamp control
This function allows you to change the brightness of the screen.
. . . . brightness according to the input signal.
. . . . normal brightness.
. . . . lower brightness reduces the lamp power consumption
and extends the lamp life.
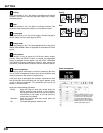
On start
When this function is “On,” the projector is automatically turned on
just by connecting the AC power cord to an AC outlet.
NOTE:
• Be sure to turn the projector off properly (see “TURNING OFF THE PROJECTOR”
on page 21). If the projector is turned off in the incorrect sequence, such as
unplugging the AC power cord before completing the cool-down etc., the On
start function does not operate properly.
SETTING
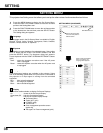
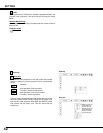
Remote control
The eight different remote control codes (Code 1–8) are assigned
to this projector: the factory-set, initial code (Code 1) and the other
seven codes (Code 2 to Code 8). This switching function prevents
interference from other remote controls when several projectors or
video equipment next to each other are operated at the same time.
For example, when operating the projector in “Code 7”, the code for
both the projector and the remote control must be switched to
“Code 7.”
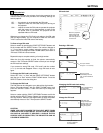
To change the code of the projector:
Select from Code 1 to Code 8 in the SETTING Menu.
To change the code of the remote control:
Set the DIP switches 1–3 inside the battery compartment of the
remote control. (See page 15.)
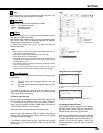
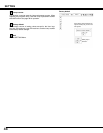
Remote control
When pressing the SELECT button at
Remote control, the Remote control
code menu appears.


