39
Release Notes for the Cisco WAN Manager, Release 15.3.00 P1
OL-11190-01, Rev. C0
Installing and Uninstalling CWM 15.3.00 P1
Verifying and Restoring Your Saved Database
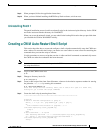
If Informix did notcome back online after restarting the CWM,use this procedure to restore thedatabase
you saved before you installed Patch 1.
(The output of onstat –d is in /usr/users/svplus/<dbexport-location>/onstat.out for reference. For
example, /usr/users/svplus/DBExports153/ where <dbexport-location> is DBExports153.)
Step 1 Log in to the workstation as root:
# su
Step 2 Go to the /usr/users/informix92/etc directory:
# cd /usr/users/informix92/etc
Step 3 Follow these steps only if you have configured a separate raw partition for the Informix physical log:
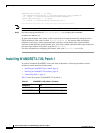
a. Open the onconfig file for editing:
# vi onconfig
b. Change this line:
PHYSDBS phydbs
to this:
PHYSDBS rootdbs
c. Change this line:
PHYSFILE <
size
>
to this:
PHYSFILE 20000
d. Save the onconfig file and exit from the editor.
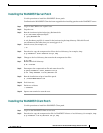
Step 4 Go the /usr/users/svplus/scripts/Install directory:
# cd /usr/users/svplus/scripts/Install
Step 5 Run these commands in the order shown below:
# ./dbmode
# ./dbinit
# ./dbonmode
# ./dbonspace
Step 6 If you have the file AddPhyLog in /usr/users/svplus/scripts/Install, do these steps:
# ./AddPhyLog
# ./RestartInf
Step 7 If you have the file dbaddchunk in /usr/users/svplus/scripts/Install, do these steps:
# ./dbaddchunk
Step 8 Exit from root.
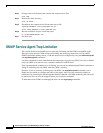
Step 9 Check if you have configured separate partition for datadbs by using the onstat –d command:
# onstat -d
Step 10 If a separate partition exists, execute these commands to import the database. If no separate partition
exists for datadbs, go to Step 11:
# dbimport stratacom -d datadbs -i <dbexport-location>


