


11-60
Catalyst 3750-X and 3560-X Switch Software Configuration Guide
OL-21521-01
Chapter 11 Configuring IEEE 802.1x Port-Based Authentication
Configuring 802.1x Authentication
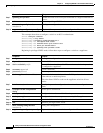
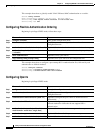
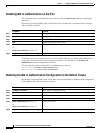
This example shows how to configure a switch as an 802.1x authenticator:
Switch# configure terminal
Switch(config)# ci
sp enable
Switch(config)# interface gigabit
ethernet2/0/1
Switch(config-if)# switchport mod
e access
Switch(config-if)# authentication
port-control auto
Switch(config-if)# dot1x pae auth
enticator
Switch(config-if)# spanning-tree portfast
trunk
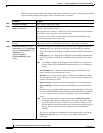
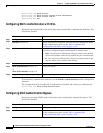
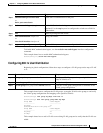
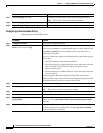
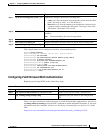
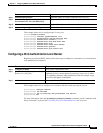
Beginning in privileged EXEC mode, follow these steps to configure a switch as a supplicant:
Step 7
spanning-tree portfast Enable Port Fast on an access port connected to a single workstation or
server..
Step 8
end Return to privileged EXEC mode.
Step 9
show running-config interface
interface-id
Verify your configuration.
Step 10
copy running-config startup-config (Optional) Save your entries in the configuration file.
Command Purpose
Command Purpose
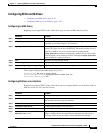
Step 1
configure terminal Enter global configuration mode.
Step 2
cisp enable Enable CISP.
Step 3
dot1x credentials profile Create 802.1x credentials profile. This must be attached to the port that
is configured as supplicant.
Step 4
username suppswitch Create a username.
Step 5
password password Create a password for the new username.
Step 6
dot1x supplicant force-multicast Force the switch to send only multicast EAPOL packets when it receives
either unicast or multicast packets.
This also allows NEAT to work on the supplicant switch in all host
mod
es.
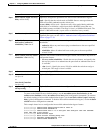
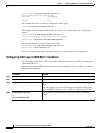
Step 7
interface interface-id Specify the port to be configured, and enter interface configuration
mode.
Step 8
switchport trunk encapsulation
dot1q
Set the port to trunk mode.
Step 9
switchport mode trunk Configure the interface as a VLAN trunk port.
Step 10
dot1x pae supplicant Configure the interface as a port access entity (PAE) supplicant.
Step 11
dot1x credentials profile-name Attach the 802.1x credentials profile to the interface.
Step 12
end Return to privileged EXEC mode.
Step 13
show running-config interface
interface-id
Verify your configuration.
Step 14
copy running-config startup-config (Optional) Save your entries in the configuration file.