


11-65
Catalyst 3750-X and 3560-X Switch Software Configuration Guide
OL-21521-01
Chapter 11 Configuring IEEE 802.1x Port-Based Authentication
Configuring 802.1x Authentication
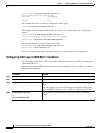
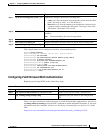
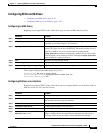
This example shows how to configure open 1x on a port:
Switch# configure terminal
Switch(config)# interface gigabite
thernet 1/0/1
Switch(config)# a
uthentication control-direction both
Switch(config)# authentication fal
lback profile1
Switch(config)# authentication hos
t-mode multi-auth
Switch(config)# authentication ope
n
Switch(config)# authentication ord
er dot1x webauth
Switch(config)# authentication per
iodic
Switch(config)# authentication por
t-control auto
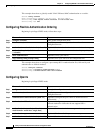
Configuring a Web Authentication Local Banner
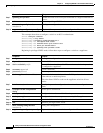
Beginning in privileged EXEC mode, follow these steps to configure a local banner on a switch that has
web authentication configured.
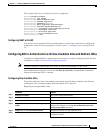
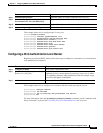
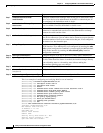
This example shows how to configure a local banner with the custom message My Swi
tch:
Switch(config) configure terminal
Switch(config)# aaa new-model
Switch(config)# aaa ip auth-proxy
auth-proxy-banner C My Switch C
Switch(config) end
For more information about the ip auth-proxy auth-proxy-banner command, see the “Authentication
Proxy Commands” section of the Cisco IOS Security Command Reference on
Cisco.com.
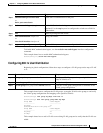
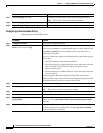
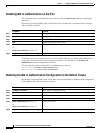
Step 8
authentication periodic (Optional) Enable or disable reauthentication on a port.
Step 9
authentication port-control {auto |
force-authorized | force-un authorized}
(Optional) Enable manual control of the port authorization state.
Step 10
show authentication (Optional) Verify your entries.
Step 11
copy running-config startup-config (Optional) Save your entries in the configuration file.
Command Purpose
Command Purpose
Step 1
configure terminal Enter global configuration mode.
Step 2
ip admission auth-proxy-banner http
[banner-text | file-path]
Enable the local banner.
(Optional) Create a custom banner by entering C ban
ner-text C, where
C is a delimiting character or file-path indicates a file (for example, a logo
or text file) that appears in the banner.
Step 3
end Return to privileged EXEC mode.