


2-35
Catalyst 3750 Switch Hardware Installation Guide
OL-6336-07
Chapter 2 Switch Installation
Installing and Removing XENPAK Modules (Catalyst 3750G-16TD Switch)
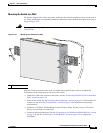
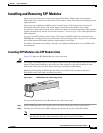
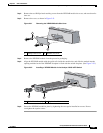
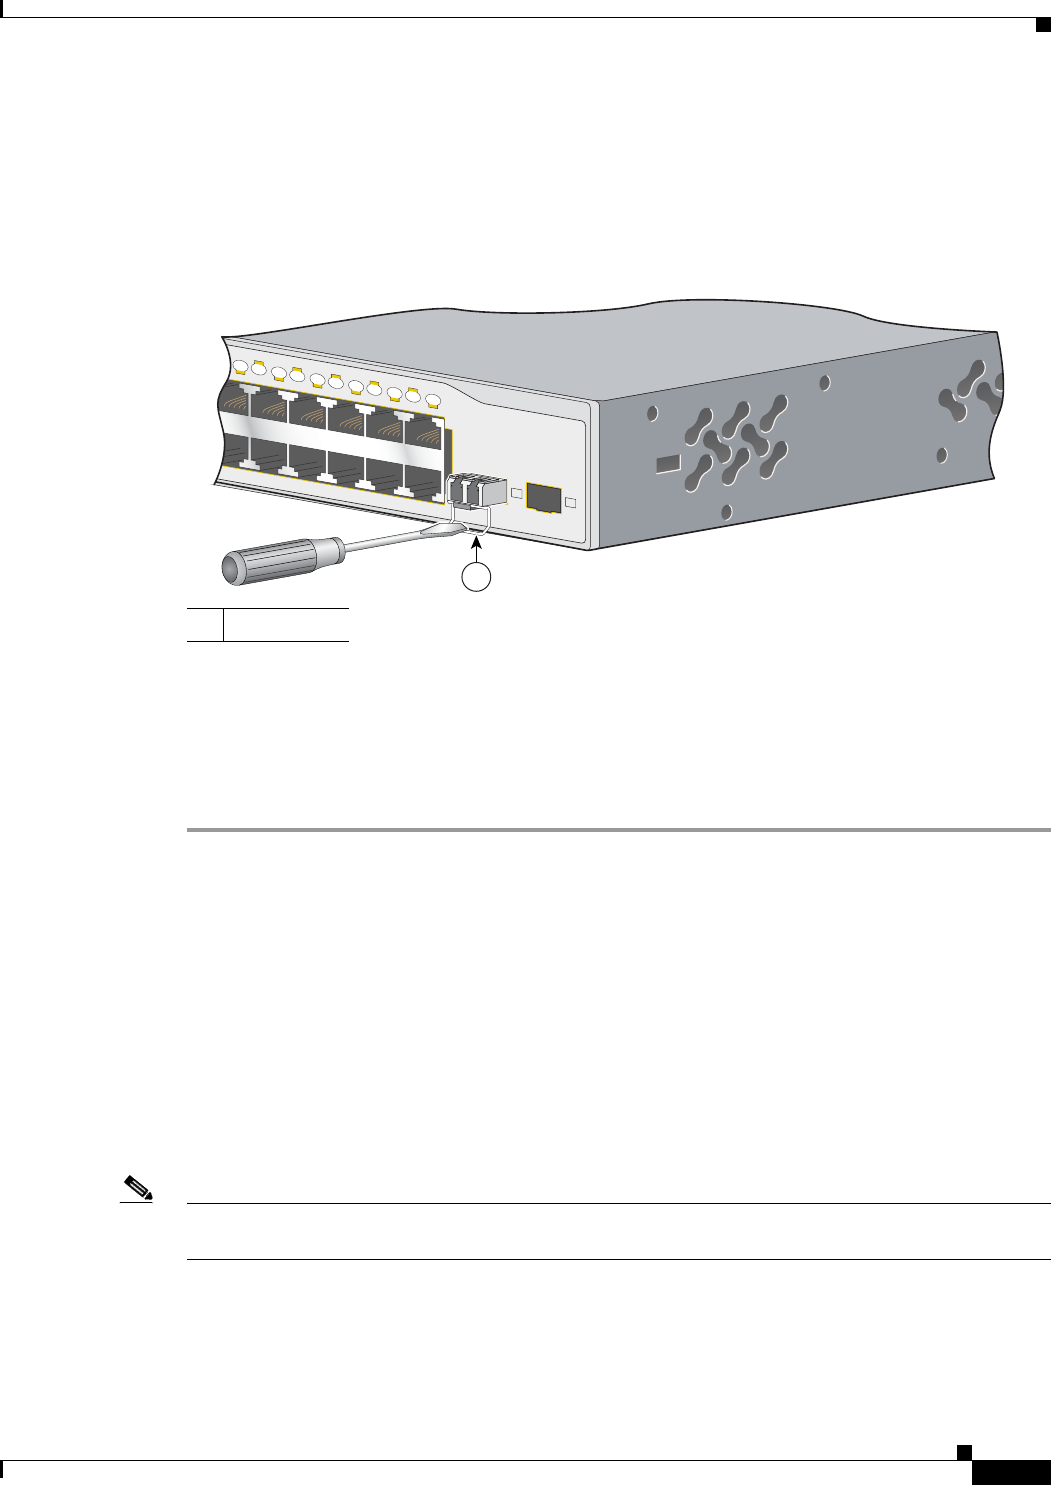
Step 3 Unlock and remove the SFP module, as shown in Figure 2-49.
If the module has a bale-clasp latch, pull the bale out and down to eject the module. If the bale-clasp
latch is obstructed and you cannot use your index finger to open it, use a small, flat-blade screwdriver
or other long, narrow instrument to open the bale-clasp latch.
Figure 2-49 Removing a Bale-Clasp Latch SFP Module by Using a Flat-Blade Screwdriver
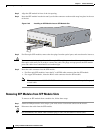
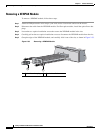
Step 4
Grasp the SFP module between your thumb and index finger, and carefully remove it from the
module slot.
Step 5 For fiber-optic SFP modules, insert a dust plug into the optical ports of the SFP module to keep the
optical interfaces clean.
Step 6 Place the removed SFP module in an antistatic bag or other protective environment.
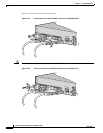
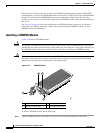
Installing and Removing XENPAK Modules
(Catalyst 3750G-16TD Switch)
These sections describe how to install and remove XENPAK modules:
• Removing SFP Modules from SFP Module Slots, page 2-34
• Removing a XENPAK Module, page 2-38
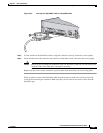
XENPAK modules are inserted into the XENPAK module slot on the front panel of the Catalyst
3750G-16TD switch. These field-replaceable transceiver modules provide 10-Gigabit interfaces.
Note The 10-Gigabit Ethernet XENPAK modules are referred to as 10-Gigabit Ethernet module ports in the
switch software documentation.
1 Bale clasp
Catalyst 3750
SERIES
1
3
X
14
X
2
3
X
2
4
X
13
14
15
16
17
18
19
20
21
22
23
24
1
2
86554
1