— 26 —
5.4 Selecting Paper Type
*L
Paper type selection is available by the combination of memory switches SW4-4 and
SW4-5 by the used of “Memory Switch Select Mode”. In addtion, the following procedure
is available.
1 Enter Selecting Paper Type mode.
1)Open the printer cover and remove paper. Pressing and holding the
FEED button, turn the printer power ON. The POWER LED starts blinking.
2)Release the FEED button and then close the printer cover. Buzzer sounds
and the paper type currently set is indicated by the LED on the operation
panel.
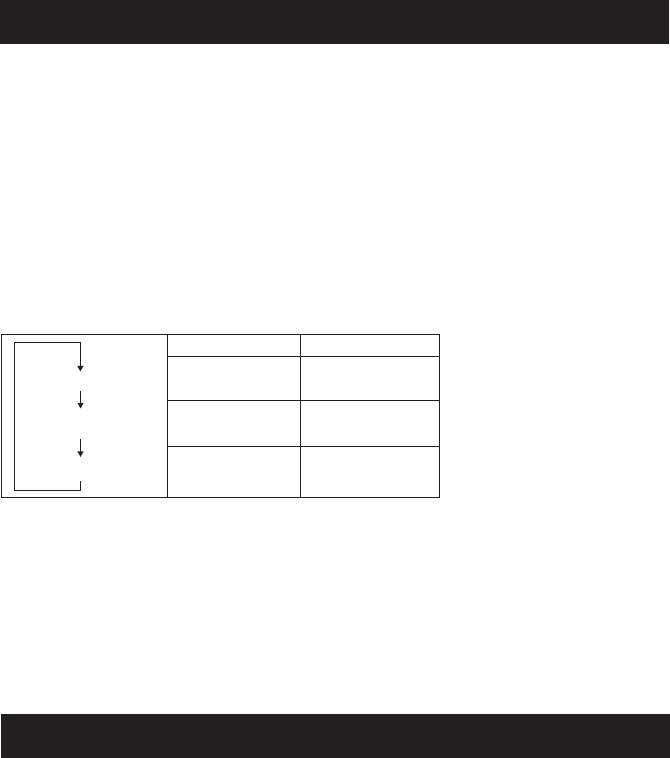
2 Select Paper Type.
Press the FEED button to match the paper type loaded to the LED indications in the
table below. (Refer to the table below.)
3Save the selected Paper Type to the Printer.
Open and close the printer cover. By this operation, selected paper type is stored in
the printer memory and the Selecting Paper Type mode is terminated.
Since then, "P.Length Set" of Memory switch 4-1 becomes disable.
When closing the printer cover during the setting a black mark paper or label paper in
the printer, paper length is measured, and the result will be printed out.
* When paper detection error occurs at the measurement of paper length,
automatically enters paper sensor adjustment mode. Adjust the sensor
in accordance with “5.5 Adjusting the Sensitivity of Paper Sensor”.
5.5
Adjusting the Sensitivity of Paper Sensor
*L
Before using black mark paper (BM paper) or label paper, adjust the sensitivity of the
paper sensor by using actual paper.
1 Enter Adjusting Paper Sensor mode.
Open the printer cover, remove paper, and then set the printer power switch to ON.
Here, POWER LED and ERROR LED go on with the buzzer sound. Then close the printer
cover while pressing the FEED button. The ERROR LED starts blinking with the buzzer
sound.
Green lit (OFF)
(OFF) Red lit
Green lit Red lit
Label
Thermal paper roll
Black mark paper
POWER LED ERROR LED


