


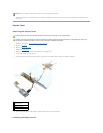


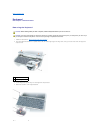
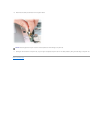
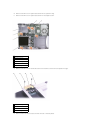
5. Lift the top of the keyboard out of the computer base, and pull the keyboard out at an angle (towards the display).
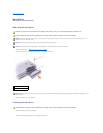
6. Grasp the keyboard flex cable near the connector, and pull up on the flex cable to disconnect it from the interface connector on the system board.
7. Remove the keyboard from the computer base.
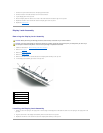
Installing the Keyboard
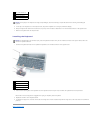
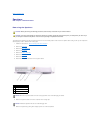
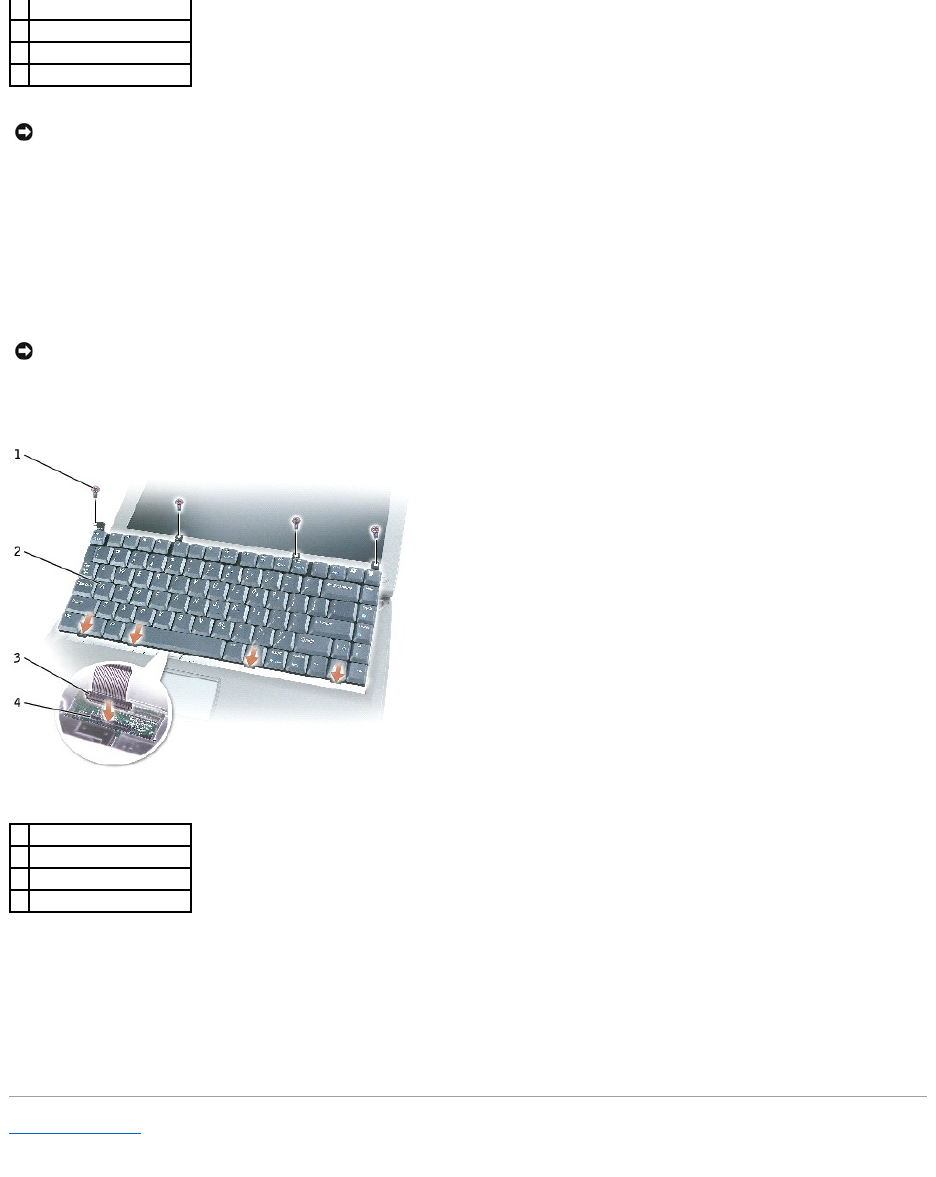
1. Connect the keyboard connector of the replacement keyboard to the interface connector on the system board.
2. Insert the four securing tabs on the keyboard into their respective slots in the palm rest, and lower the keyboard into the computer base.
Ensure that all four securing tabs are engaged before trying to completely seat the keyboard.
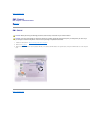
3. Replace the four M2 x 3-mm keyboard screws.
4. To replace the hinge cover, first insert the left side of the hinge cover into the notches. Snap down the hinge cover, and ensure that it is flush with the
palm rest.
Back to Contents Page
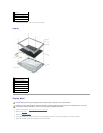
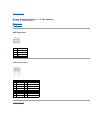
1
M2 x 3-mm screws (4)
2
keyboard
3
keyboard connector
4
interface connector
NOTICE: The keycaps on the keyboard are fragile, easily dislodged, and time-consuming to replace. Be careful when removing and handling the
keyboard.
NOTICE: To avoid damage to the connector pins, press the keyboard connector evenly into the interface connector on the system board, and do not
reverse the keyboard connector.
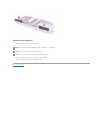
1
M2 x 3-mm screws (4)
2
keyboard
3
keyboard connector
4
interface connector