


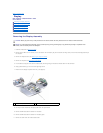
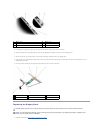


12. Slide the media buttons board left to release it from the grips and lift the media buttons board.
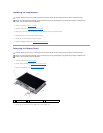
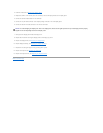
13. Rotate the LCD assembly upward for easy removal.
14. Lift the display assembly straight up and out of the computer.
Replacing the Display Assembly
1. Follow the instructions in Before You Begin
2. Follow the instructions in Removing the Display Assembly.
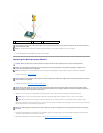
3. Align the new display assembly over the screw holes in the base of the computer.
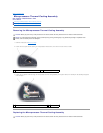
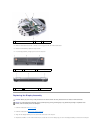
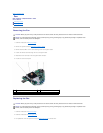
4. Replace the two M2.5 x 5-mm screws marked D (one on each side of the main battery bay) to secure the display assembly to the base of the computer.
1
media buttons board
2
screw
3
grips (5)
1
screws (2)
2
main battery bay
3
bottom of the system
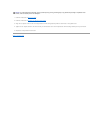
1
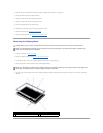
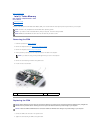
screws (2)
2
back of the system
3
hinge covers (2)
CAUTION: Before you perform any of the procedures in this section, follow the safety instructions in the Product Information Guide.
NOTICE: To avoid electrostatic discharge, ground yourself by using a wrist grounding strap or by periodically touching an unpainted metal
surface, such as the back panel on the computer.