


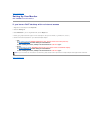


Using the OSD
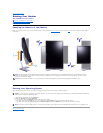
Accessing the Menu System
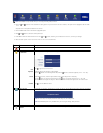
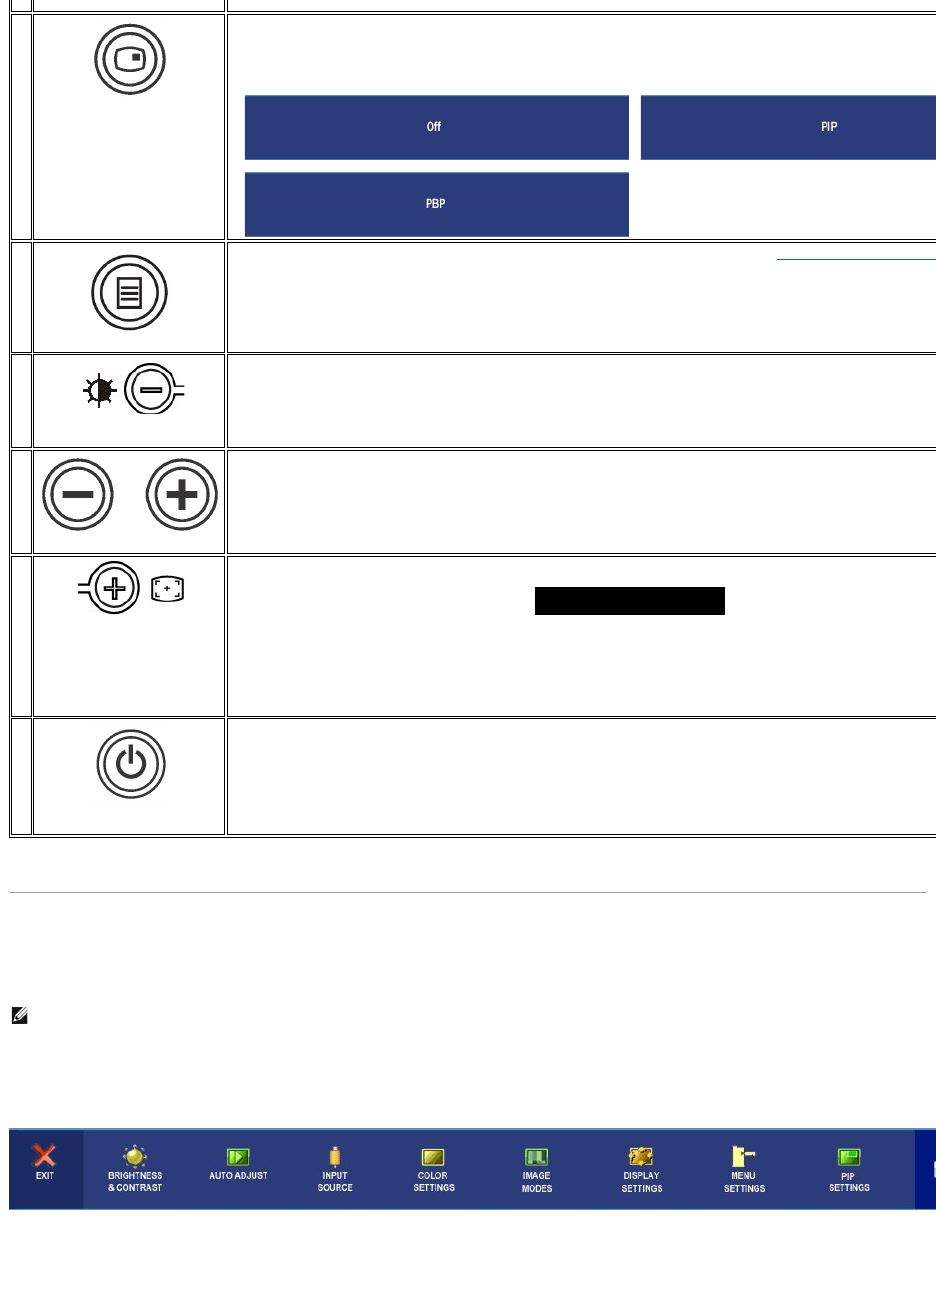
1. Push the MENU button to launch the OSD menu and display the main menu.
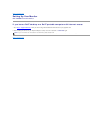
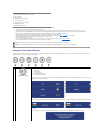
Main Menu for Analog (VGA) Input
Or
Main Menu for non Analog (non VGA) Input
B
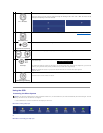
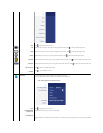
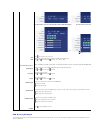
PIP / PBP Select
Use this button to activate PIP (Picture-in-Picture) / PBP (Picture-by-Picture)modesadjustment.
Pressing this button continually cycles the monitor through the following modes : OFF-->PIP--
>PBP. You will see the following
messages corresponding to the mode selected.
→
→
C
OSD Menu / Select
The MENU button is used to launch the on-screen display(OSD) and select the OSD Menu. See Accessing the Menu System
D
Brightness/Contrast Hot Key
Use this button for direct access to the "Brightness" and "Contrast" control menu.
D
,E
Down (-) and Up (+)
Use these buttons for navigating and adjusting the slider-bar(decrease/increase ranges) controls in the OSD.
E
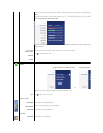
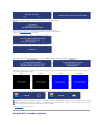
Auto Adjust
Use this button to activate automatic setup and adjust menu. The following dialog appears on a black screen as the monitor self
to the current input:
Auto Adjustment allows the monitor to self-
adjust to the incoming video signal. After using Auto Adjustment, you can further tune your
monitor by using the Pixel Clock (Coarse) and Phase (Fine) controls under Image Settings.
Auto Adjust In Progress
NOTE: Auto Adjust will not occur if you press the button while there are no active video input signals or
attached cables.
F
Power button
(withpowerlightindicator)
The green LED indicates the monitor is on and fully functional. An amber LED indicates DPMS power save mode.
The Power button turns the monitor on and off.
NOTE:
Ifyouchangethesettingsandtheneitherproceedtoanothermenu,orexittheOSDmenu,themonitorautomaticallysavesthosechanges.Thechangesarealsosavedifyouchangethe
settings and then wait for the OSD menu to disappear.