


Back to Contents Page
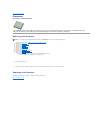
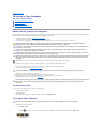
Camera
Dell™Vostro™320ServiceManual
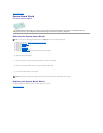
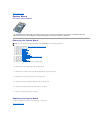
Removing the Camera
NOTE: You may need to install Adobe®Flash®Player from Adobe.com to view the following illustrations.
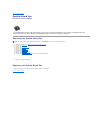
1. Follow the procedures in Before Working Inside Your Computer.
2. Remove the front panel.
3. Remove the internal panel.
4. Remove the I/O cover.
5. Remove the hinged stand.
6. Remove the optical drive.
7. Remove the back cover.
8. Remove the back metal-shield.
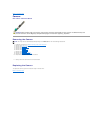
9. Remove the system-board shield.
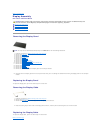
10. Disconnect the camera cable from the camera.
11. Gently remove the camera from the metal chassis.
Replacing the Camera
To replace the camera, perform the above steps in reverse order.
Back to Contents Page
WARNING: Before working inside your computer, read the safety information that shipped with your computer. For additional safety best
practices information, see the Regulatory Compliance Homepage at www.dell.com/regulatory_compliance.