Removing and Installing Parts 79
6
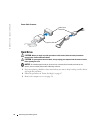
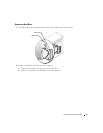
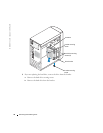
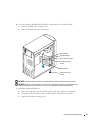
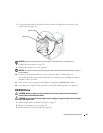
If you are replacing the additional hard drive, remove the drive from the bracket:
a
Remove the hard drive-securing screws.
b
Remove the hard drive from the bracket.
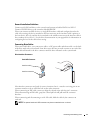
NOTICE: Ground yourself by touching an unpainted metal surface on the back of the computer.
NOTICE: When you unpack the drive, do not set it on a hard surface, which may damage the drive.
Instead, set the drive on a soft surface, such as a foam pad, that will sufficiently cushion it.
7
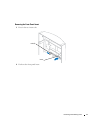
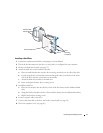
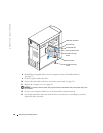
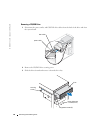
Install the additional hard drive:
a
Place the two bracket tabs into the drive slots inside the computer’s front panel.
b
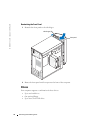
Swing the bracket forward so that it is flush with the computer’s front panel.
c
Replace the bracket-securing screws.
front computer frame
bracket tabs (2)
drive slots (2)
drive bracket
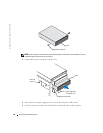
bracket-securing
screw
bracket-securing
screw


