


Back to Contents Page
Computer Cover
Dell™Inspiron™620sServiceManual
Removing the Computer Cover
Replacing the Computer Cover
Removing the Computer Cover
1. Follow the instructions in Before You Begin.
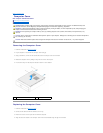
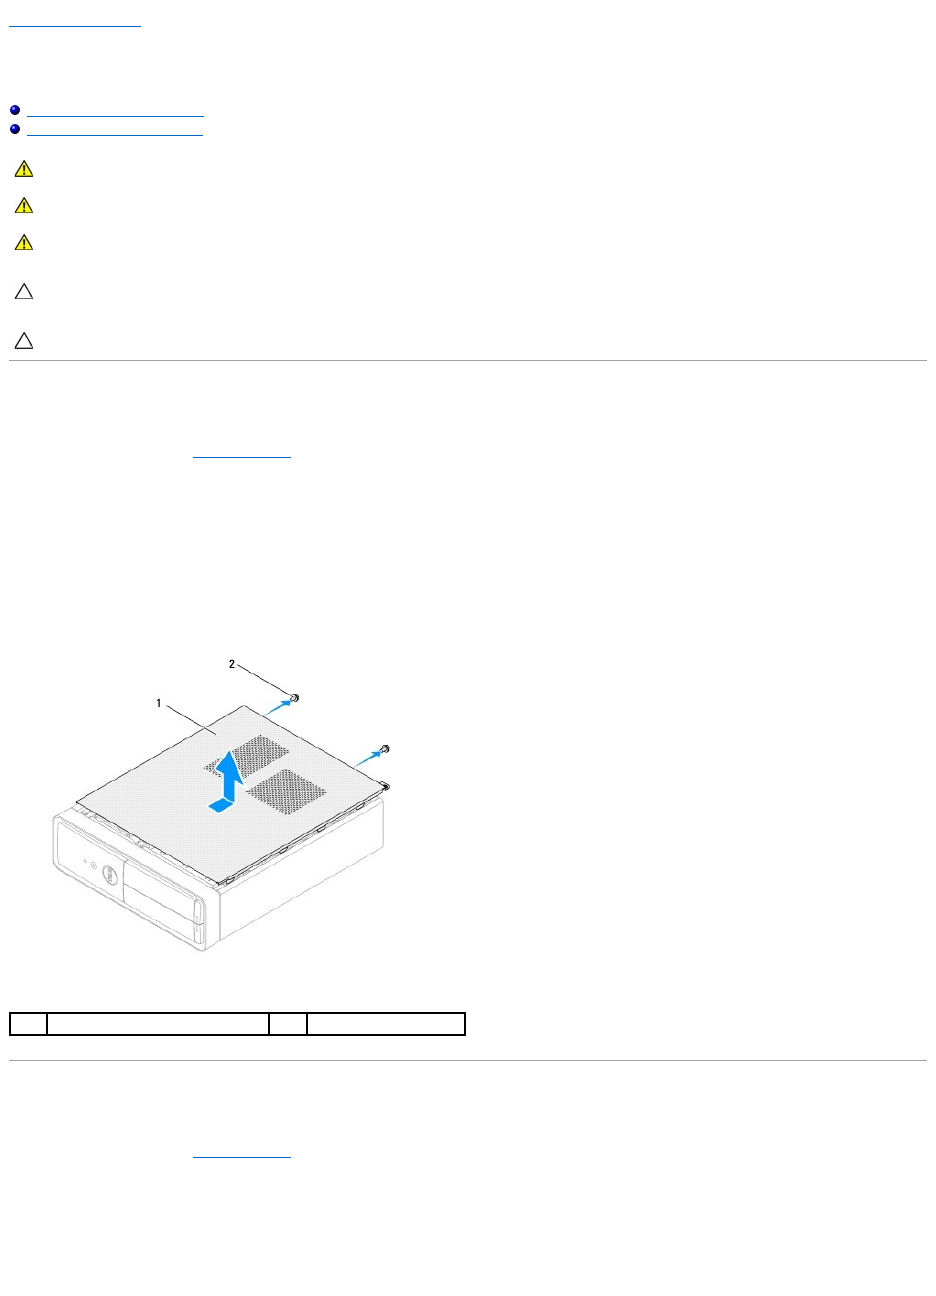
2. Lay the computer on its side with the computer cover facing up.
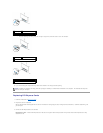
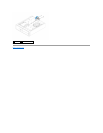
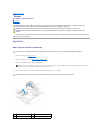
3. Using a screwdriver, remove the two screws that secure the computer cover to the chassis.
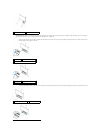
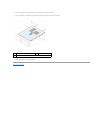
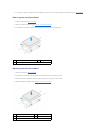
4. Release the computer cover by sliding it away from the front of the computer.
5. Lift the cover away from the computer and set it aside in a secure location.
Replacing the Computer Cover
1. Follow the instructions in Before You Begin.
2. Connect all the cables and fold the cables out of the way.
3. Ensure that no tools or extra parts are left inside the computer.
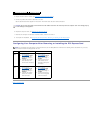
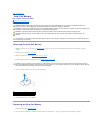
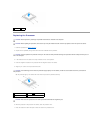
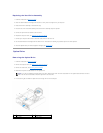
4. Align the tabs at the bottom of the computer cover with the slots located along the edge of the chassis.
WARNING: Before working inside your computer, read the safety information that shipped with your computer. For additional safety best
practices information, see the Regulatory Compliance Homepage at www.dell.com/regulatory_compliance.
WARNING: To guard against likelihood of electric shock, laceration by moving fan blades, or other unexpected injuries, always unplug your
computer from the electrical outlet before removing the cover.
WARNING: Do not operate your computer with any cover(s) (including computer covers, bezels, filler brackets, front-panel inserts, etc.)
removed.
CAUTION: Only a certified service technician should perform repairs on your computer. Damage due to servicing that is not authorized by Dell is
not covered by your warranty.
CAUTION: Ensure that sufficient space exists to support the computer with the cover removed—at least 30 cm (1 ft.) of desk top space.
1
computer cover
2
screws (2)