


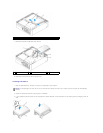
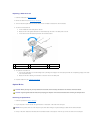
4. Connect the hard drive fan to the system board (see System Board Components).
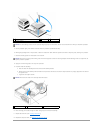
5. Connect the power and data cables to the drive.
6. Gently position the drive until it clicks into place.
7. Check all connectors to be certain that they are properly cabled and firmly seated.
8. Replace the computer cover (see Replacing the Computer Cover).
9. If the drive you just installed is the primary drive, insert bootable media into your boot drive.
10. Turn on the computer.
11. Enter system setup (see Entering System Setup) and update the appropriate Primary Drive option (0 or 2).
12. Exit system setup, and reboot the computer.
13. Partition and logically format your drive before you proceed to the next step.
For instructions, see the documentation that came with your operating system.
14. Test the hard drive by running the Dell Diagnostics (see Dell Diagnostics).
15. Install your operating system on the hard drive.
For instructions, see the documentation that came with your operating system.
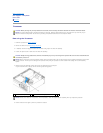
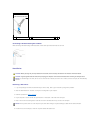
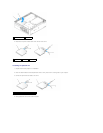
1
release tabs (2)
2
drive
3
hard drive bracket
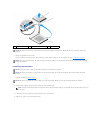
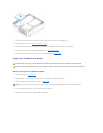
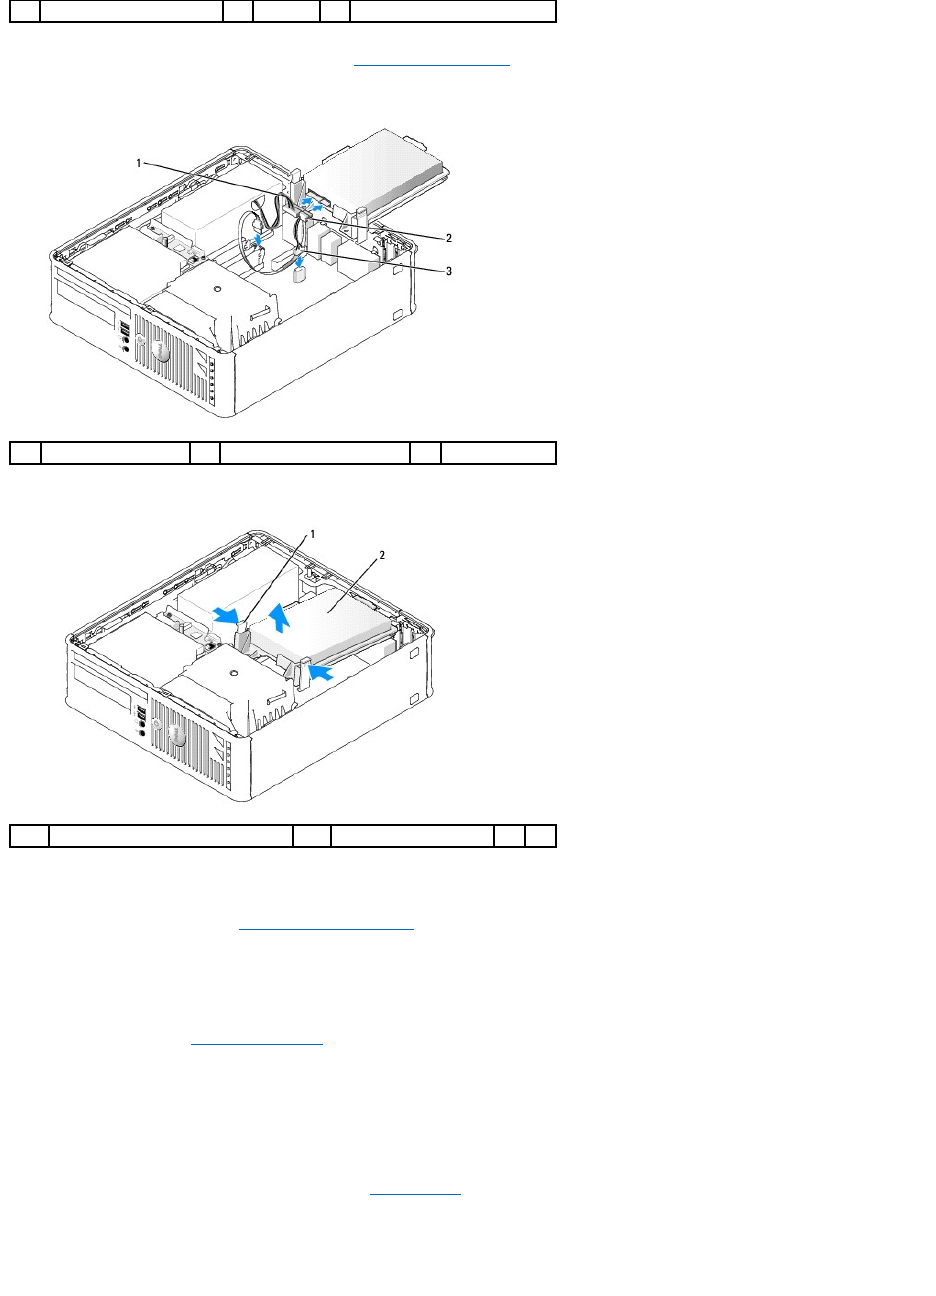
1
power cable
2
SATA data cable
3
fan cable
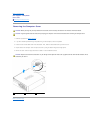
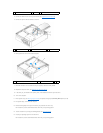
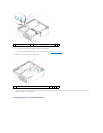
1
release tabs (2)
2
hard drive