


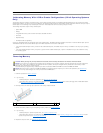
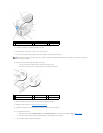
5. Prepare the new card for installation.
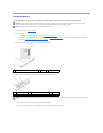
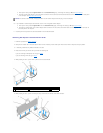
6. Place the card in the connector and press down firmly. Ensure that the card is fully seated in the slot.
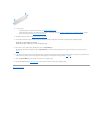
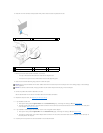
7. Secure the card(s) by closing the card retention latch and snapping it into place.
8. Connect any cables that should be attached to the card.
9. Replace the computer cover (see Replacing the Computer Cover).
10. If you installed a sound card:
a. Enter system setup, select Integrated Audio from the Onboard Devices group, and change the setting to Off (see System Setup).
b. Connect external audio devices to the sound card's connectors. Do not connect external audio devices to the line-in connector on the back panel
of the computer (see Back-Panel Connectors).
11. If you installed a network adapter card and want to turn off the integrated network adapter:
a. Enter system setup, select Integrated NIC from the Onboard Devices group, and change the setting to Off (see System Setup).
b. Connect the network cable to the network adapter card's connectors. Do not connect the network cable to the integrated network connector on
the back panel of the computer.
12. Install any drivers required for the card as described in the card documentation.
Removing a PCI Card
1. Follow the procedures in Before You Begin
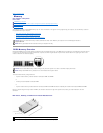
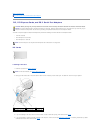
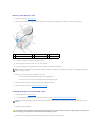
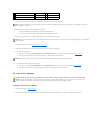
2. Gently push the release tab on the card retention latch from the inside to pivot the latch open. The latch will remain in the open position.
CAUTION: Some network adapters automatically start the computer when they are connected to a network. To guard against electrical shock, be
sure to unplug your computer from its electrical outlet before installing any cards.
NOTE: See the documentation that came with the card for information on configuring the card, making internal connections, or customizing it for your
computer
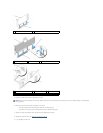
NOTE: If the card is full-length, insert the end of the card into the card-guide bracket as you lower the card toward its connector on the system board.
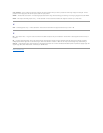
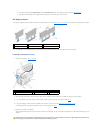
Insert the card firmly into the card connector on the system board.
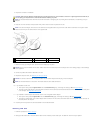
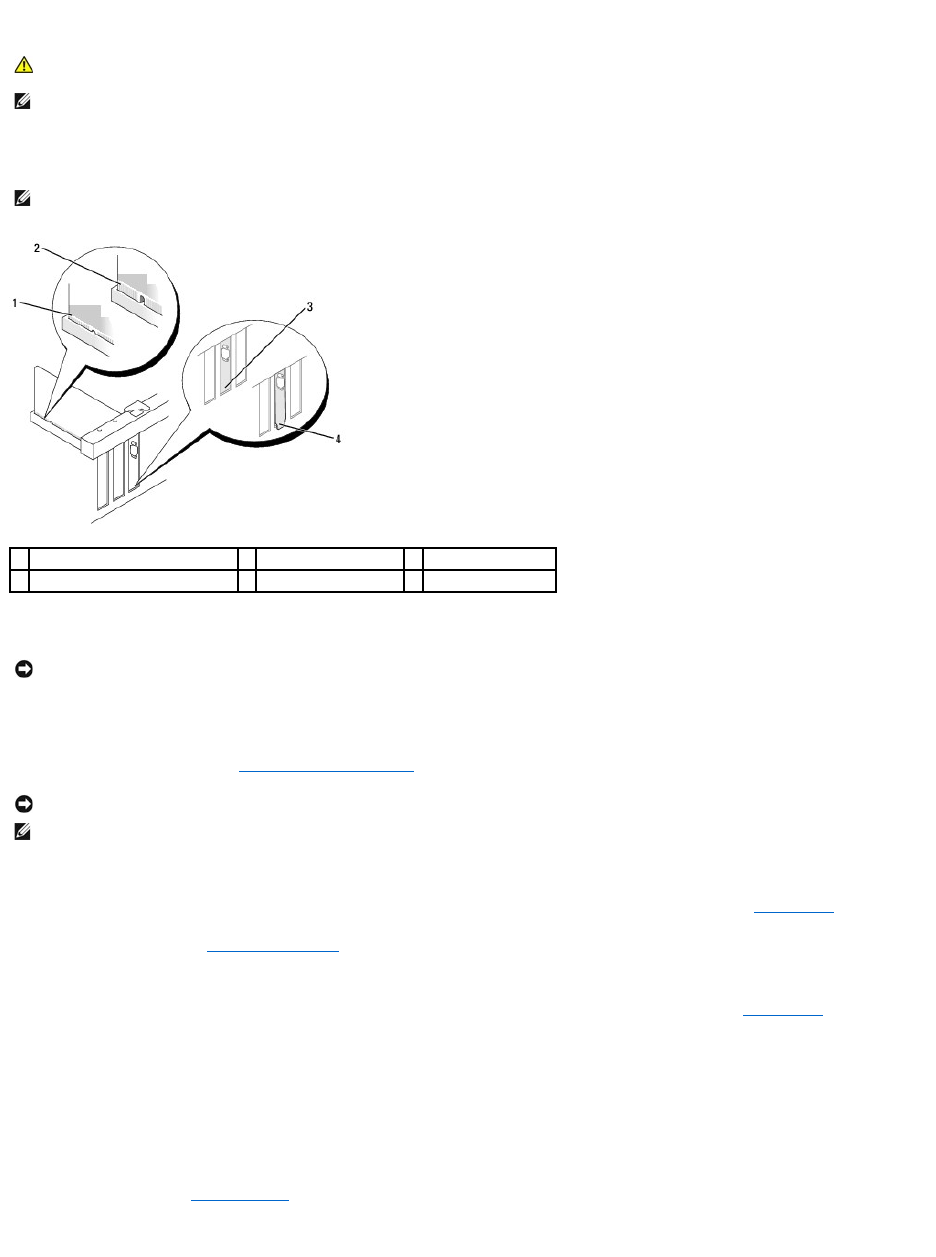
1
fully seated card
2
not fully seated card
3
bracket within slot
4
bracket caught outside of slot
NOTICE: Do not route card cables over the cards. Cables routed over the cards can prevent the computer cover from closing properly or cause damage
to the equipment.
NOTICE: To connect a network cable, first plug the cable into the network wall jack and then plug it into the computer.
NOTE: See the documentation for the card for information about the card's cable connections.