


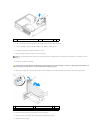
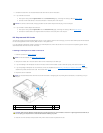
3. Gently lift the release tab on the card retention latch from the inside to pivot the latch open. Pivot the latch until it snaps into the open position.
4. If necessary, disconnect any cables connected to the card.
5. Grasp the card by its top corners, and ease it out of its connector.
6. If you are removing the card permanently, install a filler bracket in the empty card-slot opening.
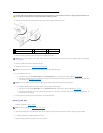
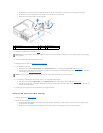
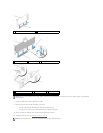
7. Before you close the card retention mechanism, ensure that:
l The tops of all cards and filler brackets are flush with the alignment bar.
l The notch in the top of the card or filler bracket fits around the alignment guide.
8. Secure any remaining card(s) by closing the card retention latch and snapping it into place.
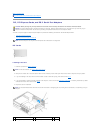
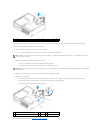
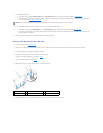
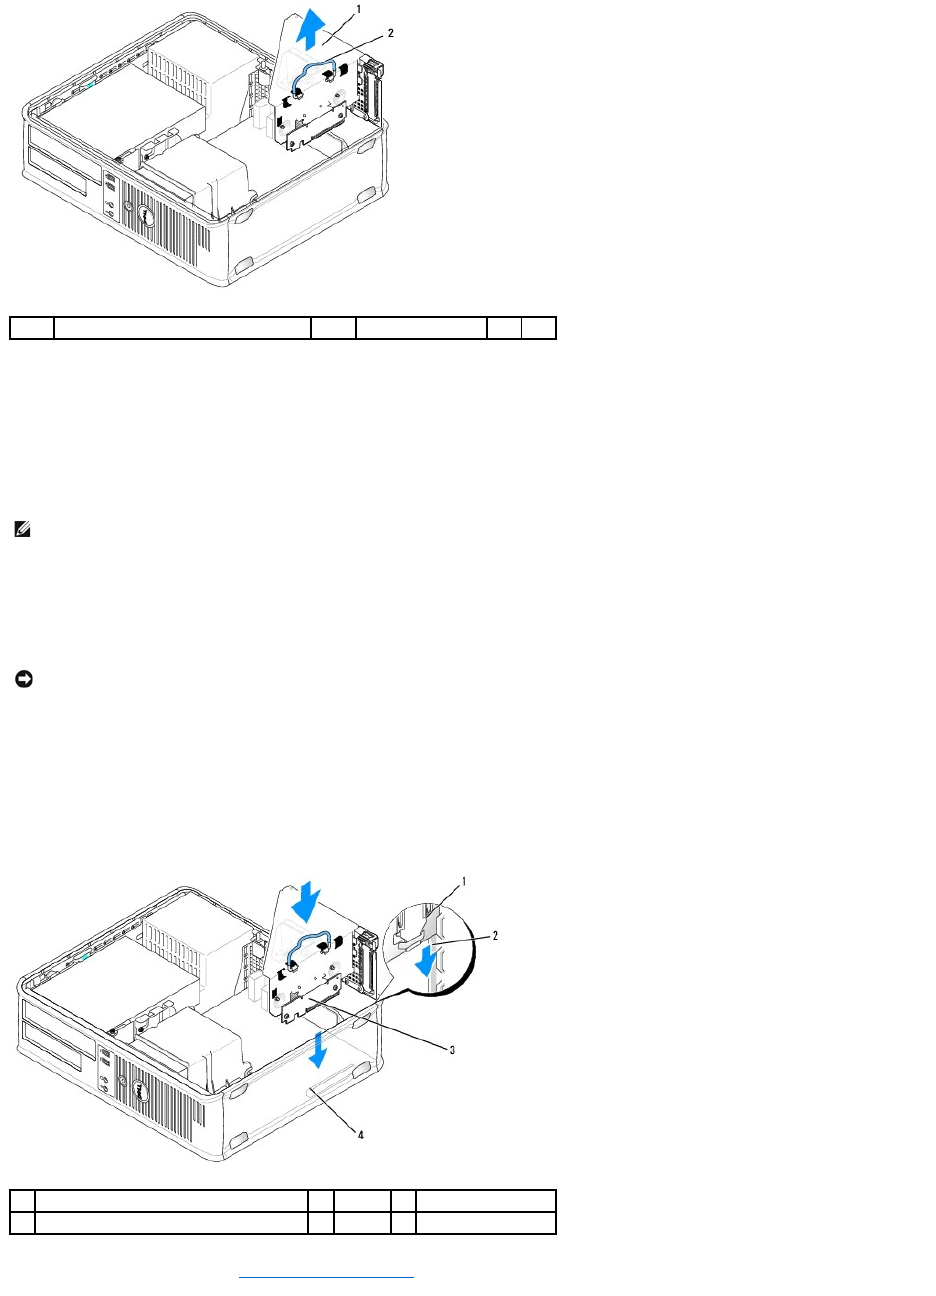
9. Replace the riser-card cage:
a. Align the tabs in the side of the riser-card cage with the slots on the side of the computer, and slide the riser-card cage down into place.
b. Ensure that the riser-card connectors are fully seated in the connectors on the system board.
c. Rotate the riser-card cage handle to the down position.
10. Replace the computer cover (see Replacing the Computer Cover).
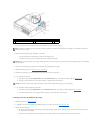
1
riser-card cage
2
handle
NOTE: Installing filler brackets over empty card-slot openings is necessary to maintain FCC certification of the computer. The brackets also keep dust
and dirt out of your computer.
NOTICE: Do not route card cables over the cards. Cables routed over the cards can prevent the computer cover from closing properly or cause damage
to the equipment.
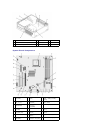
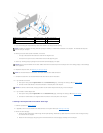
1
riser-card cage
2
slots
3
riser cards (2)
4
system board connectors (2)