


Back to Contents Page
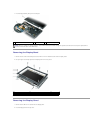
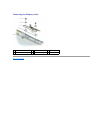
Hard Drive
Dell™Latitude™D430
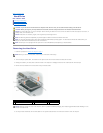
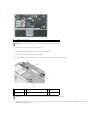
Removing the Hard Drive
Dismantling the Hard Drive
Replacing the Hard Drive
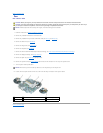
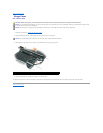
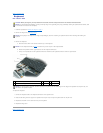
Removing the Hard Drive
1. Follow the procedures in "BeforeYouBegin"onpage7.
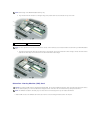
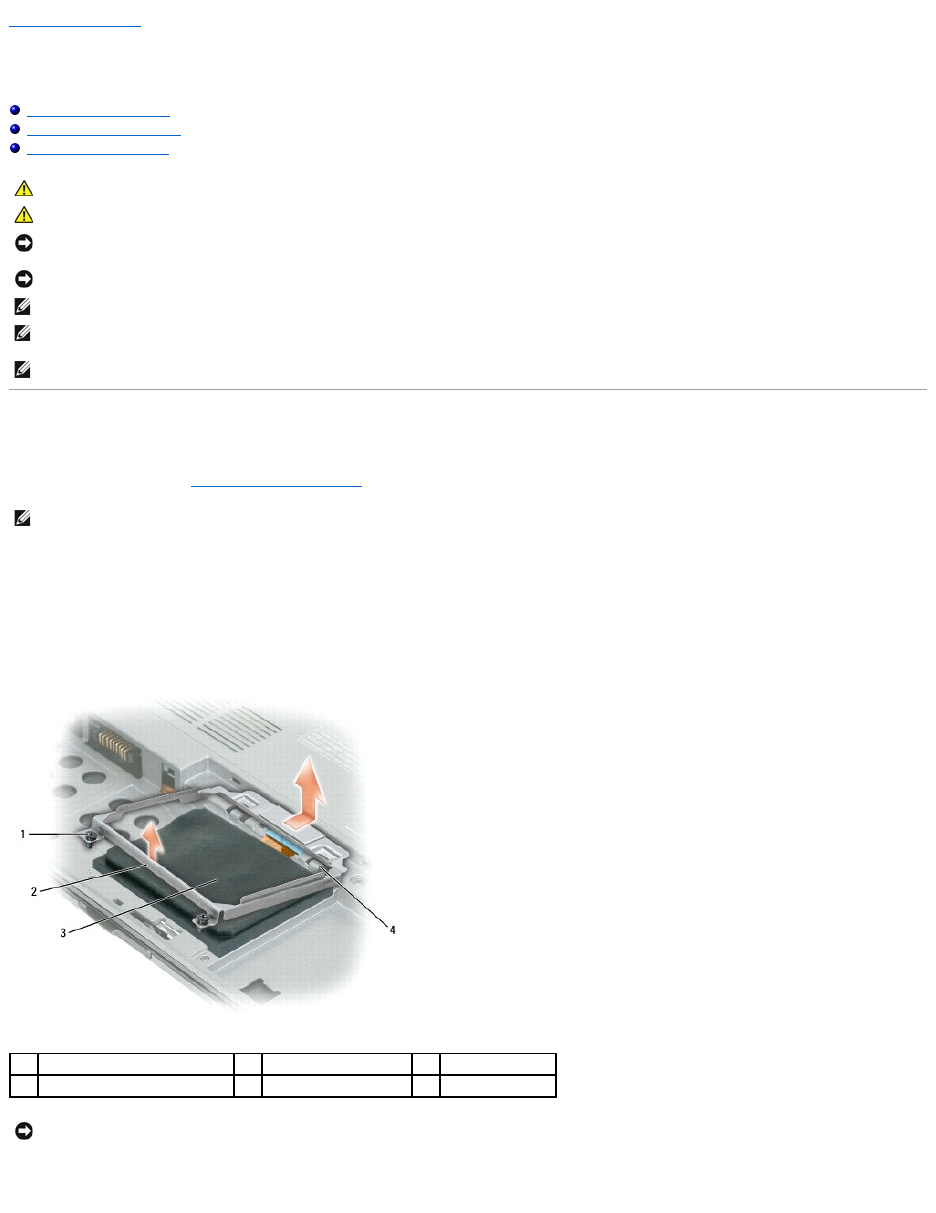
2. Turn the computer upside down, and loosen the two captive screws on the metal bracket that holds the hard drive.
3. Holding the bracket by the sides, slide it toward the back of the computer to dislodge the bracket from underneath the two metal clips.
4. Remove the metal bracket from the hard drive and lay the bracket aside.
5. Use the pull-tab to disconnect the hard drive cable from the system board connector and remove the hard drive from the computer.
CAUTION: If you remove the hard drive from the computer when the drive is hot, do not touch the metal housing of the hard drive.
CAUTION: Before you begin any of the procedures in this section, follow the safety instructions in the Product Information Guide.
NOTICE: To prevent data loss, turn off your computer before removing the hard drive. Do not remove the hard drive while the computer is turned on, in
standby mode, or in hibernate mode.
NOTICE: Hard drives are extremely fragile; even a slight bump can damage the drive.
NOTE: DelldoesnotguaranteecompatibilityorprovidesupportforharddrivesfromsourcesotherthanDell.
NOTE: You need the Operating System CD to install the Microsoft®Windows®operating system. You also need the Drivers and Utilities CD for your
computer to install the drivers and utilities on the new hard drive.
NOTE: This computer is not equipped with an optical drive—use the Media Base (sold separately) to install software.
NOTE: Before you remove the hard drive, ensure that you removed the main battery.
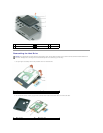
1
captive screws (2)
2
metal bracket
3
hard drive
4
metal clips (2)
NOTICE: When the hard drive is not in the computer, store it in protective antistatic packaging. See "Protecting Against Electrostatic Discharge" in the
Product Information Guide.