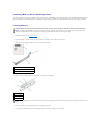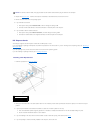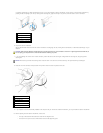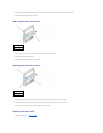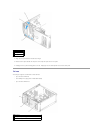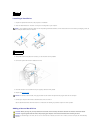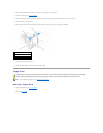
3. By pushing from the inside and pivoting the drive panel to the left, you can release the drive panel from its side hinges.
4. Set the drive panel aside in a secure location.
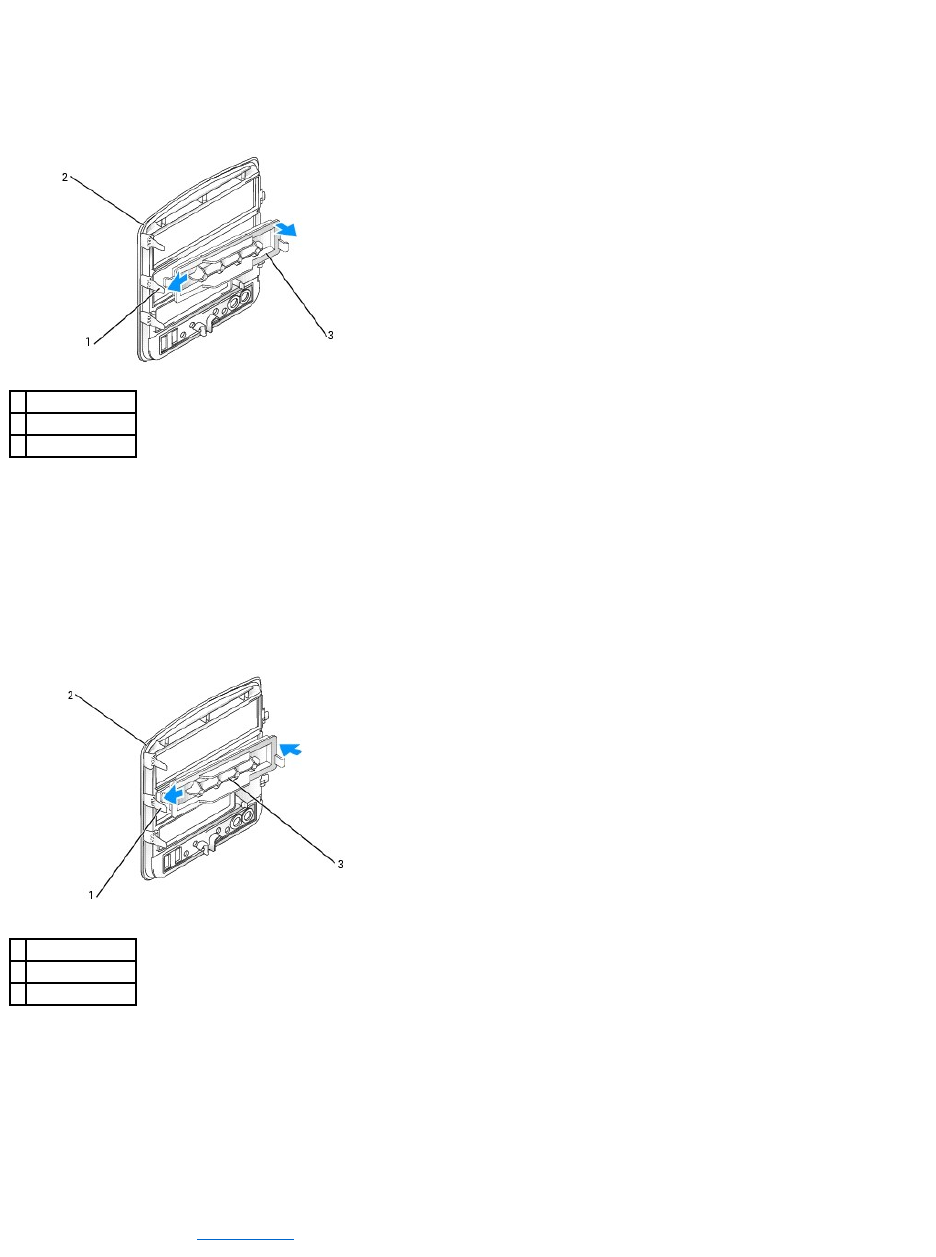
Removing the Drive-Panel Insert
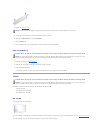
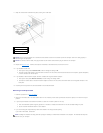
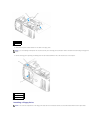
1. On the inside of the drive panel, gently press the two drive-panel insert tab inward.
2. Pivot the drive-panel insert outward.
3. Set the drive-panel insert aside in a secure location.
Replacing the Drive-Panel Insert
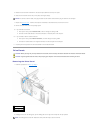
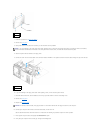
1. Align the tabs slots with the drive-panel insert tabs and seat the drive panel insert under the right edge.
2. Rotating inward toward the drive panel, align and snap the drive-panel insert into place on the drive panel.
3. Ensure that the drive-panel insert is correctly seated in the drive panel.
Replacing the Drive Panel
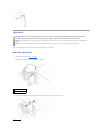
1. Follow the procedures in "Before you Begin."
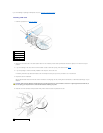
1
drive panel tabs
2
drive panel
3
drive panel insert
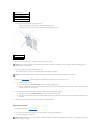
1
drive panel tabs
2
drive panel
3
drive panel insert


