34 Setting Up for Local Printing
www.dell.com | support.dell.com
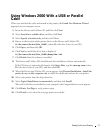
8 Select Specify a location only, and then click Next.
9 Browse to the location of the printer driver on the Drivers and Utilities CD:
D:\Drivers\Print\Win_9xMe\<your language folder>\dkaay2da.inf
(where D is the drive letter of your CD).
10 Highlight the driver, and then select to install the updated driver (recommended).
11 Click Next.
12 Click Next to complete installation.
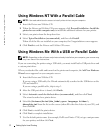
13 Use the default printer name (for example, Dell Laser Printer 1710) or type a unique name
for your printer, and then click Next.
14 Select Yes to print a test page, and then click Finish.
All the necessary files are installed on your computer.
15 After the test page prints, click Yes to close the message window.
16 Click Finish to complete the installation.
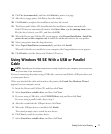
17 The Drivers and Utilities CD should launch the installation software automatically.
If the CD does not automatically launch, click Start → Run, type D:\setup.exe (where
D is the drive letter of your CD), and then click OK.
18 When the Drivers and Utilities CD screen appears, click Personal Installation - Install the
printer for use on this computer only to install the additional software for your printer.
19 Select your printer from the drop-down box.
20 Select Typical Installation (recommended), and then click Install.
When all of the files are installed on your computer, the Congratulations screen appears.
21 Click Finish to exit the Drivers and Utilities CD screen.
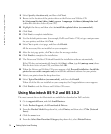
Using Macintosh OS 9.2 and OS 10.2
The most current drivers for Macintosh are available for download on Dell's website.
1 Go to support.dell.com, and click Small Business.
2 Under Product Support, click Downloads & Drivers.
3 From the Product Model drop-down list, select Printer, and then select 1710n (Network
Laser).
4 Click the arrow icon.
5 From the Select Your Download Category drop-down list, select Printer Drivers.


