118 Adding and Replacing Parts
4
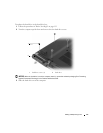
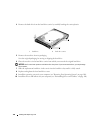
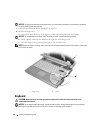
Remove the hard drive from the hard drive carrier by carefully bending the carrier plastics.
5
Remove the new drive from its packaging.
Save the original packaging for storing or shipping the hard drive.
6
Place the new drive in the hard drive carrier from which you removed the original hard drive.
NOTICE: Use firm and even pressure to slide the drive into place. If you use excessive force, you may damage
the connector.
7
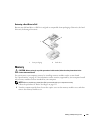
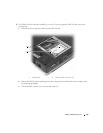
Slide the replacement hard drive in the carrier into the hard drive bay until it is fully seated.
8
Replace and tighten the four hard drive screws.
9
Install the operating system for your computer (see "Restoring Your Operating System" on page 108).
10
Install the drivers and utilities for your computer (see "Reinstalling Drivers and Utilities" on page 106).
1 hard drive 2 hard drive carrier
1
2


