


Back to Contents Page
Hard Drive
Dell™XPS™M1730ServiceManual
Removing the Hard Drive Cage
Replacing the Hard Drive Cage
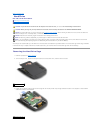
Your computer can accommodate up to two hard drives. The hard drives are installed in trays labeled 0 and 1 in the hard drive cage and the cage is installed
in the hard drive bay. To replace a hard drive or install a second one, you must first remove the hard drive cage from the hard drive bay.
Removing the Hard Drive Cage
1. Follow the procedures in Before You Begin.
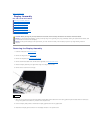
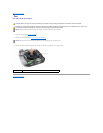
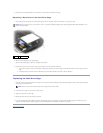
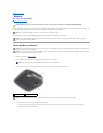
2. Turn the computer over, loosen the two captive screws on the hard drive cover, and then remove the cover.
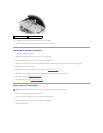
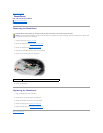
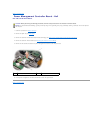
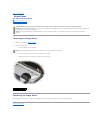
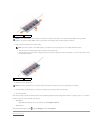
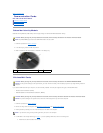
3. Loosen the four captive screws on the hard drive cage and then lift the pull-tab to flip the cage towards the center of the computer so that the SATA
cables and connectors are accessible.
CAUTION: If you remove the hard drive from the computer when the drive is hot, do not touch the metal housing of the hard drive.
CAUTION: Before you begin any of the procedures in this section, follow the safety instructions in the ProductInformationGuide.
NOTICE: To prevent data loss, turn off your computer (see Turning Off Your Computer) before removing the hard drive. Do not remove the hard drive
while the computer is on, in standby mode, or in hibernate mode.
NOTICE: Hard drives are extremely fragile. Exercise care when handling the hard drive.
NOTE: Dell does not guarantee compatibility or provide support for hard drives from sources other than Dell.
NOTE: If you are installing a hard drive from a source other than Dell, you need to install an operating system, drivers, and utilities on the new hard
drive (see "Restoring Your Operating System" and "Reinstalling Drivers and Utilities" in your Owner's Manual).
1
captive screws (2)
1
captive screws (4)