


Adding and Replacing Parts 241
6
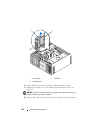
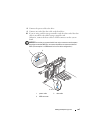
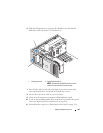
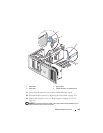
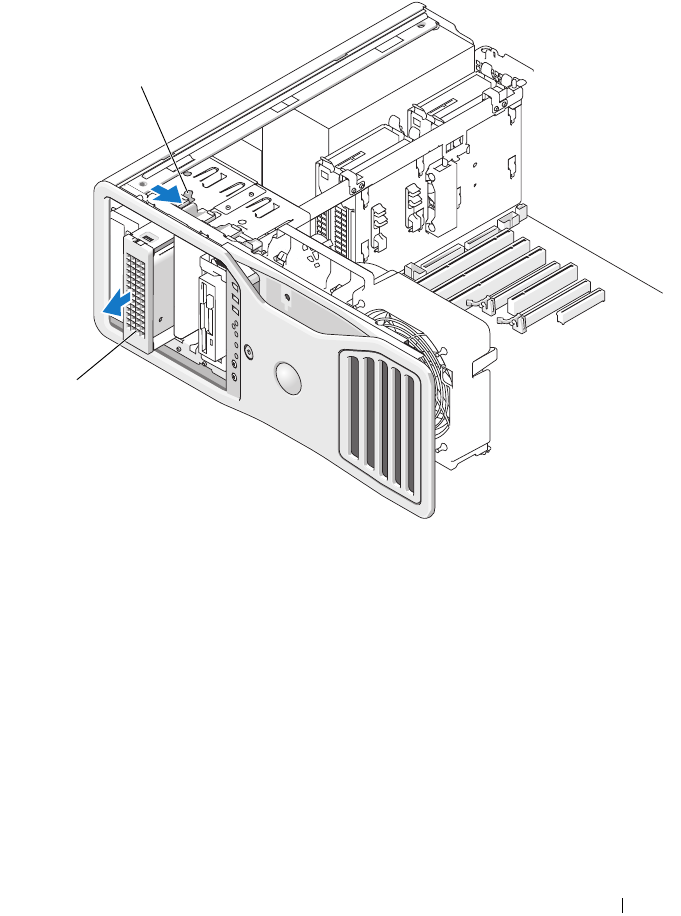
Slide the sliding-plate lever to release the shoulder screw and slide the
hard-drive carrier out of the 5.25-inch drive bay.
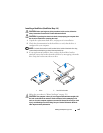
7
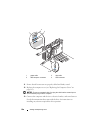
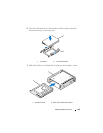
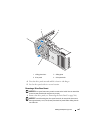
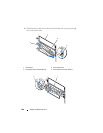
Press the blue tabs on each side of the hard-drive bracket toward each
other and slide the drive up and out of the hard-drive carrier.
8
Set the drive and carrier aside in a secure location.
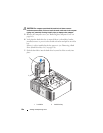
9
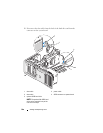
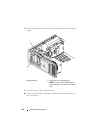
Ensure that all connectors are properly cabled and firmly seated.
10
If you are not installing another drive in the drive bay, install a drive panel
insert (see "Replacing a Drive-Panel Insert" on page 249).
11
Reinstall the drive panel (see "Replacing the Drive Panel" on page 249).
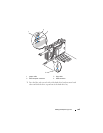
1 sliding-plate lever 2 optional fifth hard drive
NOTE: The optional fifth SATA hard drive can be
installed in any of the 5.25-inch drive bays.
1
2