


Install Guide
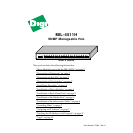
Model: MIL-4511H 4
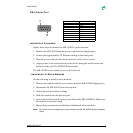
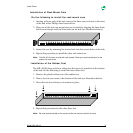
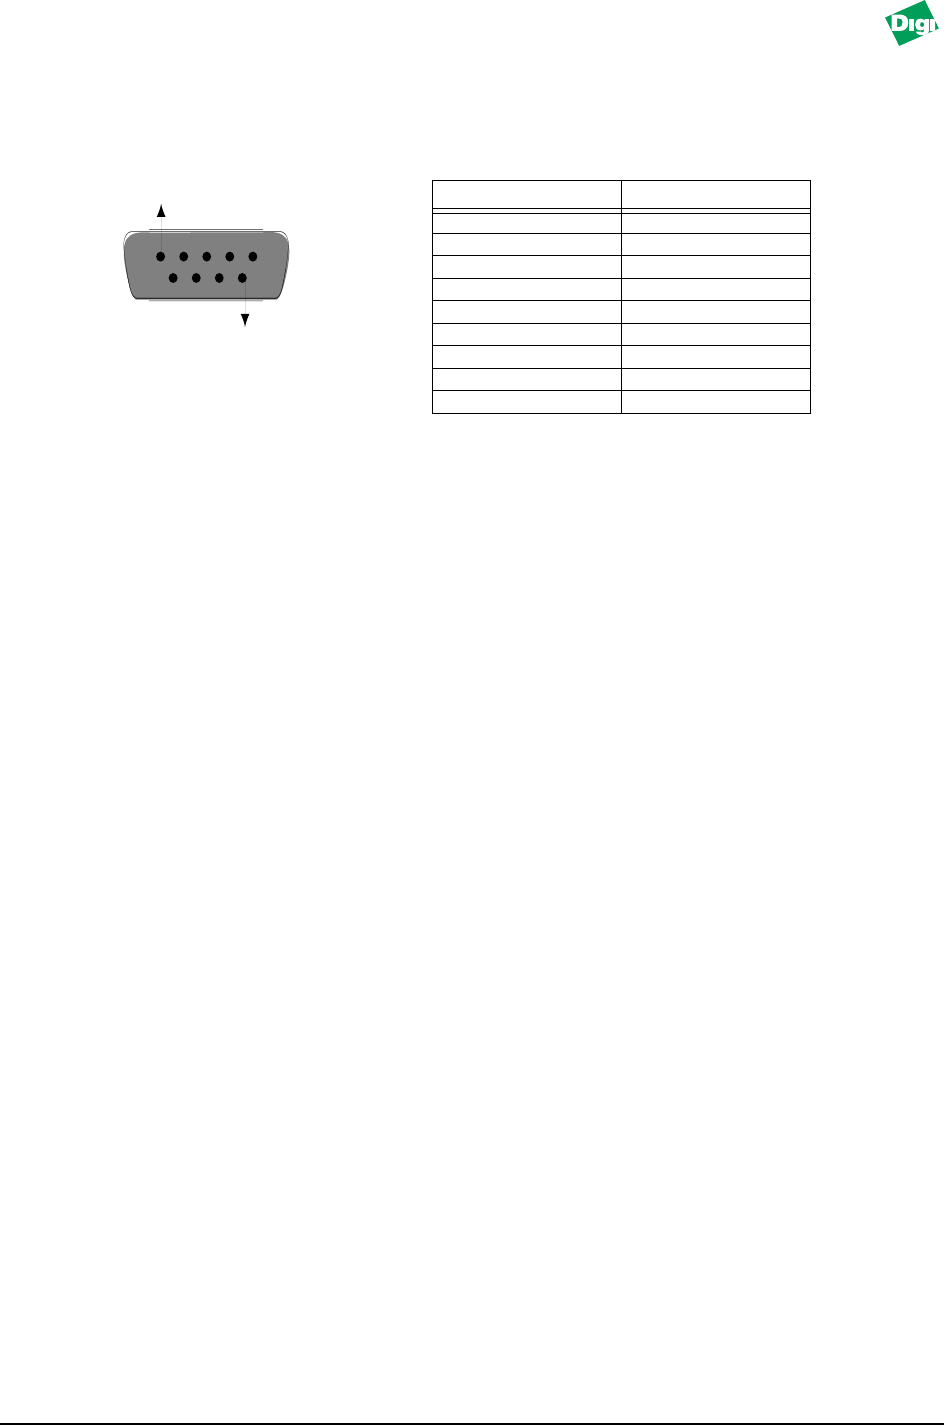
DB-9 Serial Port
Installation Procedure
Follow these steps to connect the MIL-4511H to your network:
1. Remove the MIL-4511H and the power cord from the shipping box.
2. Connect the appropriate UTP Ethernet cabling to the front ports.
3. Plug the power cord into the device and into an AC power source.
4. Apply power to the unit and turn on the device using the switch located on
the back of the unit. The PWR LED illuminates.
The MIL-4511H is now ready for use on the network.
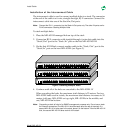
Installation of Micro Modules
Do the following to install a micro module:
1. Remove the module and the cover screws from the MIL-4300M shipping box.
2. Disconnect the MIL-4511H from the network.
3. Adjust the micro module's settings.
4. Slide the module into the desired port.
5. Secure the module with the screws provided in the MIL-4300M kit. Make sure
the module is securely seated.
6. Repeat this procedure for installation of additional micro modules.
Note:
For instructions on configuring the micro modules, see the
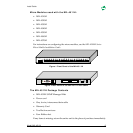
MIL-4300M Series Installation
Guide
.
DB-Male Pin # Function
1 N/C
2 RXD
3 TXD
4 DTR
5 GND
6 N/C
7 DTR
8 CTR
9 N/C
1
9