


Install Guide
Model: MIL-4511H 5
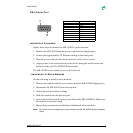
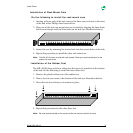
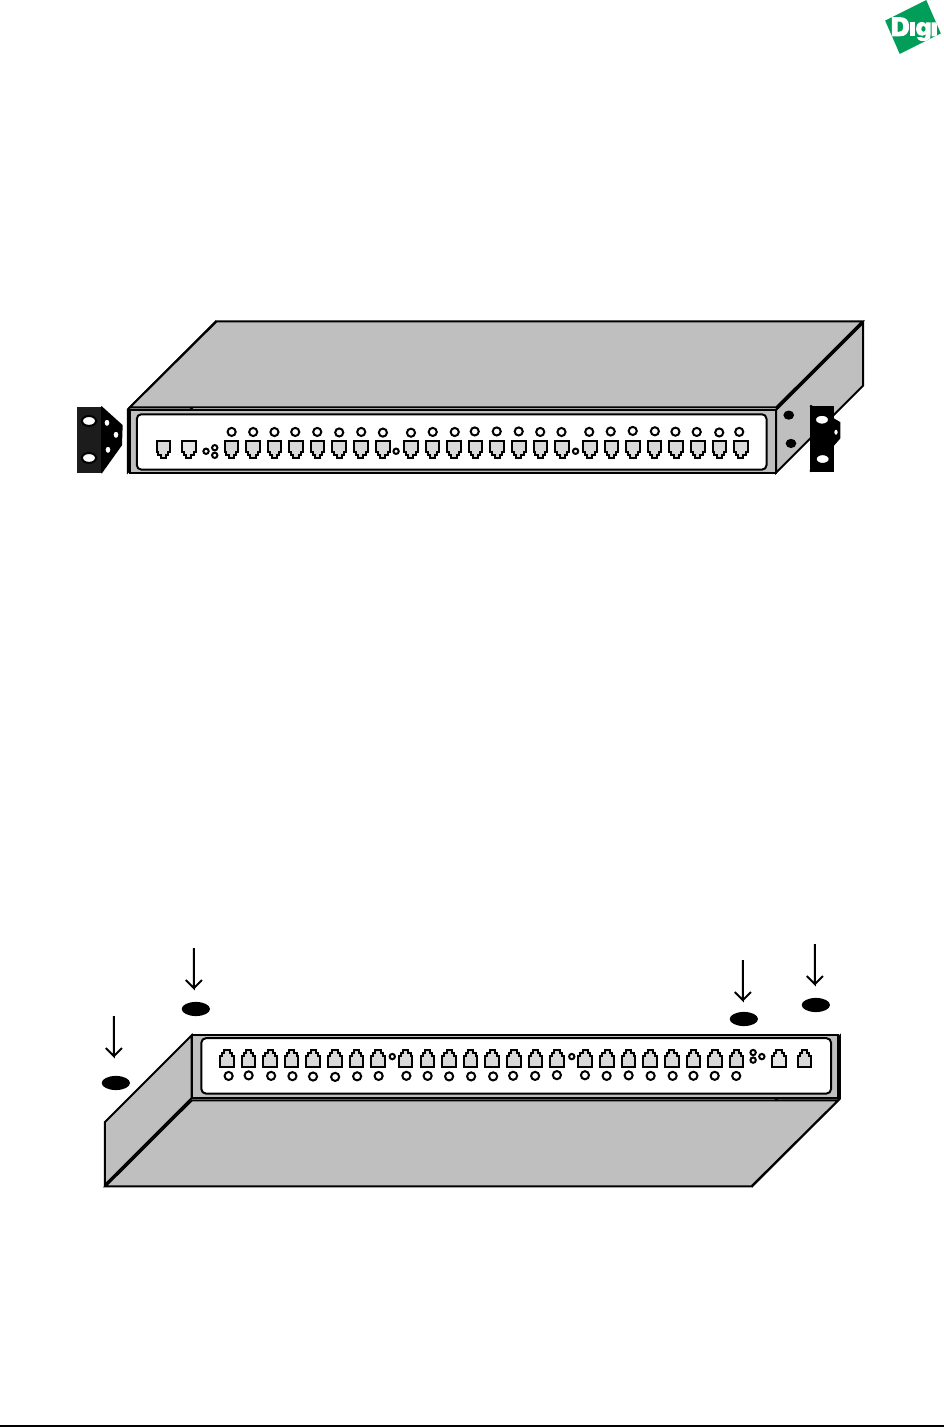
Installation of Rack Mount Ears
Do the following to install the rack mount ears
1. Starting with one side of the hub, remove the three screws closest to the front
of the hub with a Phillips head screwdriver.
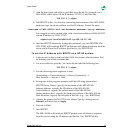
2. Place one of the two rack mount ears next to the hub, aligning the three holes
that form a triangle with the three holes on the hub (see illustration below):
3. Secure the ears by returning the screws back into the correct holes on the hub.
4. Repeat this procedure to install the other rack mount ear.
Note:
The MIL-4511H does not ship with rack screws. Check your rack manufacturer for the
proper size rack screw.
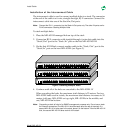
Installation of the Rubber Feet
The MIL-4511H ships with four rubber feet that are to be installed on the bottom
of the hub. Do the following to install the four rubber feet:
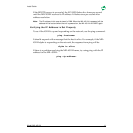
1. Remove the plastic stickers on of the rubber feet.
2. Place a foot on one corner of the bottom of the hub (see illustration below):
3. Press the foot down firmly so it remains in place.
4. Repeat this procedure for the other three feet.
Note:
Be sure to place the feet on the corners of the hub and do not block air vents.
STACK
PWR
MBUS
MSYS
OUT
IN
HUB 24Port 10BaseT with Modular Uplink Ports, SNMP Management Module Installed
RX
CX
MODEL MIL•4511
LINK
RECEIVE
PARTITION
STACK
PWR
MBUS
MSYS
OUT
IN
HUB 24Port 10BaseT with Modular Uplink Ports, SNMP Management Module Installed
RX
CX
MODEL MIL•4511
LINK
RECEIVE
PARTITION