


6
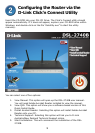
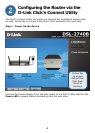
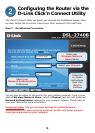
Configuring the Router via the
D-Link Click’n Connect Utility
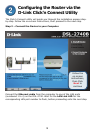
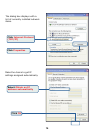
The Click’n Connect utility will guide you through the installation process step-
by-step. Follow the on-screen instructions, then proceed to the next step.
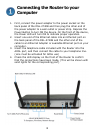
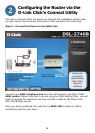
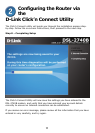
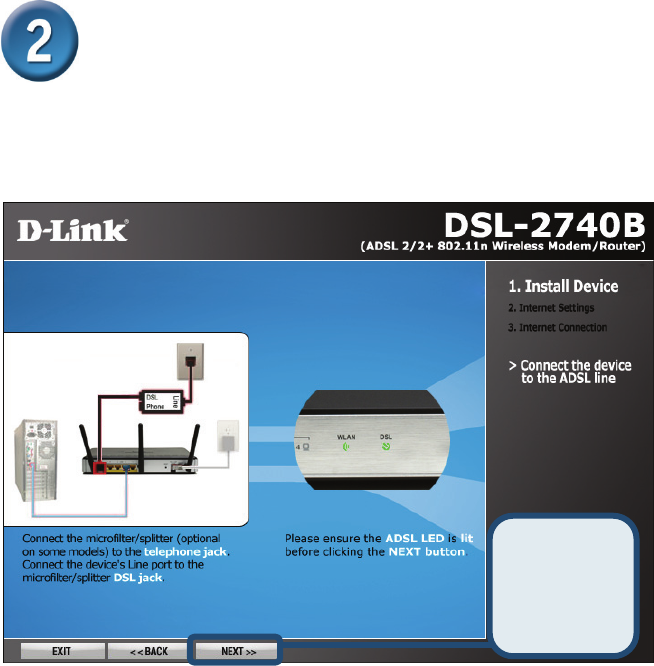
Step 3 – Connect the Device to the ADSL Line
Connect your ADSL telephone line from the wall socket to the DSL-2740B
ADSL socket. Please note that if you are using an ADSL Splitter/Filter, you will
need to connect the telephone line from the DSL socket on the filter to the
DSL-2740B ADSL socket.
Once you have completed this, wait for the ADSL LED to light up, before
proceeding onto the next step.
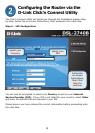
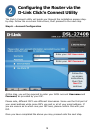
Follow the
on-screen
instructions,
then Click
Next to
continue