


10/100 Auto Negotiation Switch User’s Guide
Introduction
3
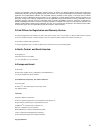
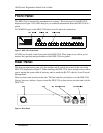
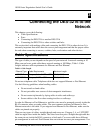
Front Panel
The DES-3216 is designed for management at a glance. The front panel of the DES-3216,
displayed in Figure 1 has LEDs that give you essential information about the DES-3216 at a
glance.
All 16 MDI-X ports on the DES-3216 can be used for network connections.
Figure 1: DES-3216 Front Panel
All LEDs are located on the front panel of the DES-3216. Their purpose is to allow you to
monitor the operation and performance of the DES-3216 at a glance.
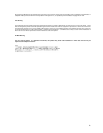
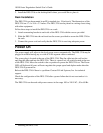
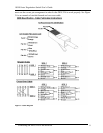
Rear Panel
The three pronged power plug, two fans and the on/off switch are located at the rear of the
DES-3216 displayed in Figure 2. When installing the DES-3216, leave enough room to allow
you to unplug the power cable if necessary and to attach the RS-232 cable for Local Console
Management.
There are heat vents located on the sides. The fans and the vents help to cool the DES-3216.
Always leave two inches of space around the DES-3216 so that air can circulate and cool the
DES-3216.
Figure 2: Rear Panel