


Option 1:Press the keypad “AF” for executing the AF function.
Option 2:Using the remote controller “AF” button for auto focus function.
Besides, the digital presenter will execute Auto Focus when user adjusting the zoom
in/out.
Focus
In some cases, you may have to adjust the focus manually.
To adjust the focus manually:
Option 1:Press
on the control panel to enter the "Focus" mode. Adjust the focus
with the Adjust buttons ( ) until you see a clear image.
Option 2:If you are using your remote control, adjust the focus with the Focus - ( )
and Focus + ( ) buttons until you see a clear image.
Brightness
To adjust the brightness of the image Presenter:
Option 1:Press
on the control panel to enter the "Brightness" mode. Adjust the
brightness value with the Adjust buttons ( ) until you are satisfied with
the image brightness.
Note: You may also adjust the lamps for proper lighting or turn on/off the lamps.
Gamma
Select Gamma to set different gamma.
Select Gamma for different image sharpness.
When you select Photo, the image is displayed in true colors.
When you select Text, the contrast of the image becomes sharp. The Text mode is
particularly useful when you present a text that contains small fonts or is slightly blurred.
It is recommended to use the Photo mode in general conditions.
Image
Select Image to adjust the image output of your Presenter.
The Normal mode, which is the default setting, will enhance the color display.
When you select Gary, the image is displayed in black and white.
Note: Your presenter will automatically adjust the image size, brightness, color, lamps, and AF, based on your
selection of Slide or Film modes.
You may select Film for a negative effect (each color is turned to its opposite). If you do
so, the lamps are switched to backlights.
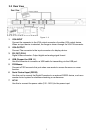
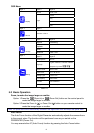
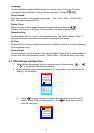
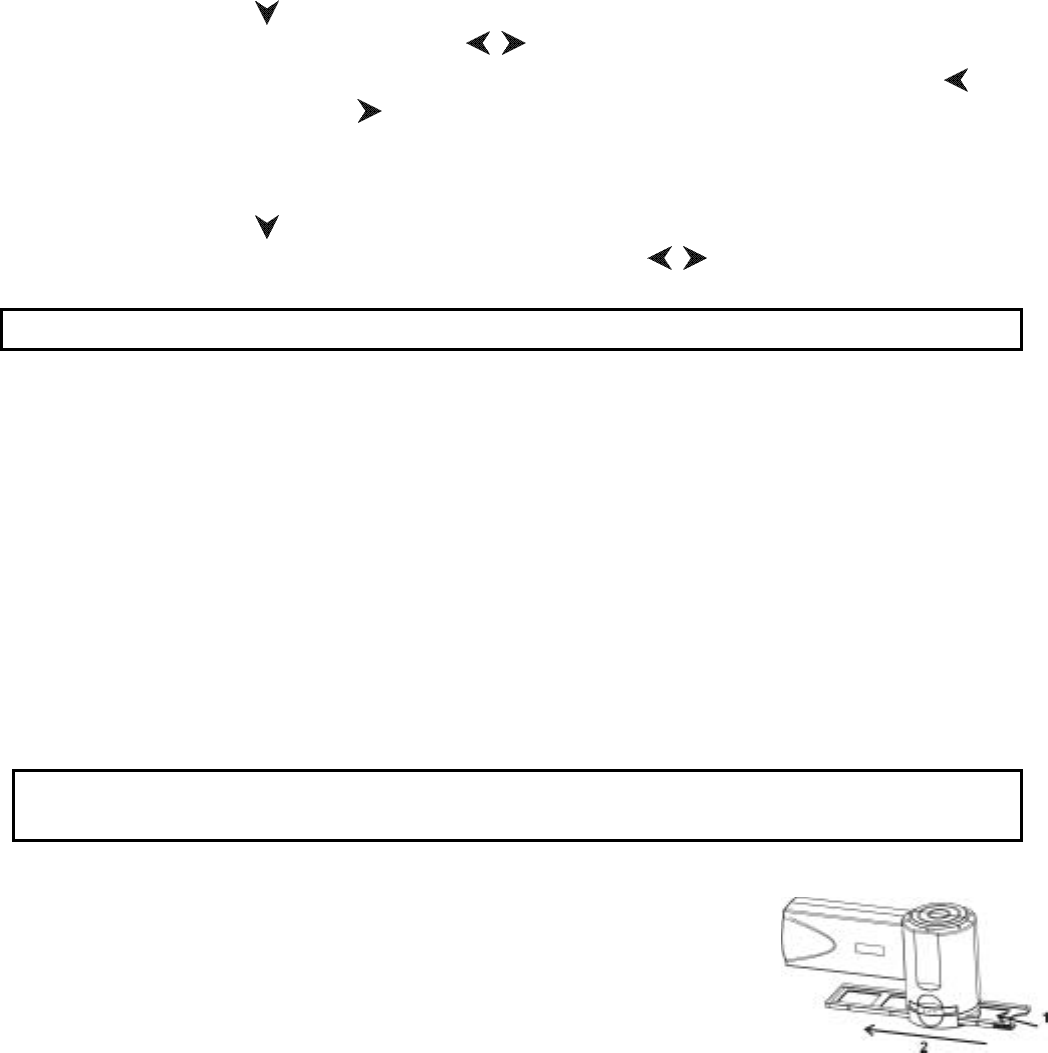
Figure: 5-2
The Slide mode is offered to view slides. In such a mode, the
lamps are switched to backlights.
You may place slides or negatives as follows:
1. Place a slide or negative in the slide or negative holder, as
shown in Figure 5-2.
2. Insert the slide or negative holder into the slot above the lens.
Storage
You may use this function to capture the current image display and save it in the internal
memory of the Digital Presenter.
12