


14
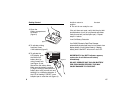
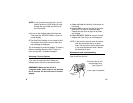
4. Snap the battery door back
into place.
5. Remove and discard the
clear protective cover from
the bottom of the unit.
Setting Date and Time
1. To set the current date and time, press and
hold down the SET/EDIT button for 2 seconds,
let go and the Month (M) and Day (D) indicators
will start flashing.
If no other key is pressed for 10 seconds,
the unit will revert back to normal display.
2. While the Month(M) and Date (D) indicators are
flashing press the LOCK button to cycle
through the 3 available date formats.
3. Once you have chosen an appropriate date
format, press the SHIFT button to switch
between each of the different DATE, MONTH,
YEAR, HOUR and MINUTE fields. The field that
is currently active will start flashing. To change
a field’s value press the LOCK button, each
stroke of the Lock button moves one value up.
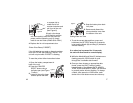
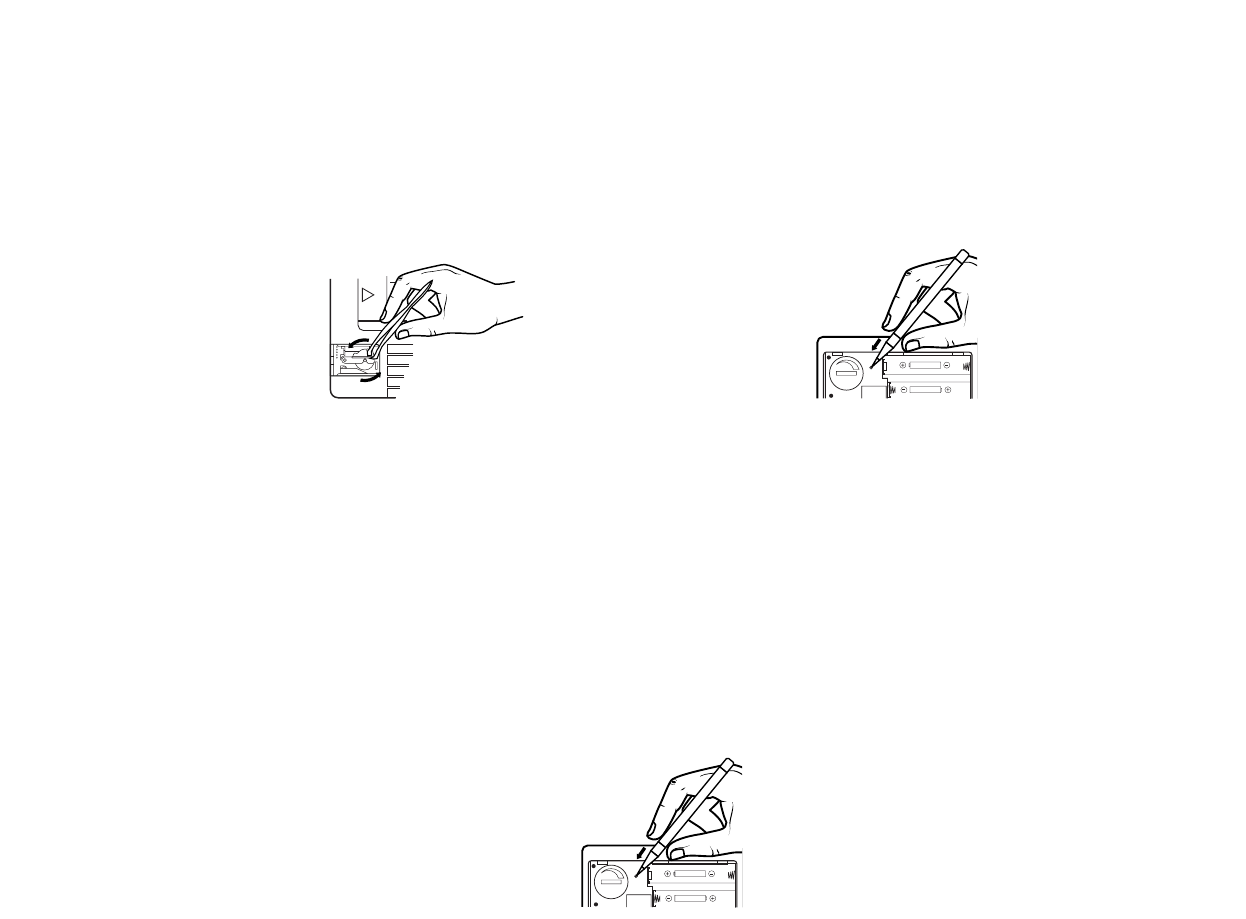
or a paper clip to
rotate the ink roll
counter-clockwise and
pull it out of the unit.
(see Figure 6)
3. Apply a few drops
of ink-pad ink onto the
roll, then carefully insert the roll back into
proper position inside the unit. Or simply
insert a new Ink Roller (DYMO SKU 47001)
4. Replace the ink roll compartment door.
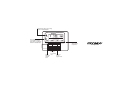
Printer Error/Reset (P-RESET)
If the AA batteries are weak or there is a printer
error the LCD will start flashing P-RESET. The
unit will not print while P-RESET is flashing.
To reset the printer follow instructions below
1.
Open the battery compartment in
back of the unit.
2.
Press the PRINTER
RESET button using a
ball point pen (see Figure
7 below).
3.
Listen for the unit to beep
and the printer belt and
7
figure 6
OPEN
"AA" UM-3 1.5V
3.0 VOLT
•
P
R
I
N
T
E
R
•
R
E
S
E
T
"AA" UM-3 1.5V
figure 4
OPEN
"AA" UM-3 1.5V
3.0 VOLT
•
P
R
I
N
T
E
R
•
R
E
S
E
T
"AA" UM-3 1.5V
figure 7