SECTION 1 INSTALLATION
1--1
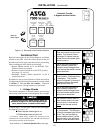
The ASCO 7000 Series Automatic Transfer & Bypass–
Isolation Switch (ATB) consists ofan upperbypass–isola-
tion switch, a transfer switch, a monitoring and transfer
controller, and door–mounted controls. The ATB is
factory wired and tested. Installation requires removalof
the shipping skid then securing the enclosure to the
supporting foundation.
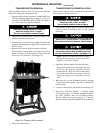
Remove the Transfer Switch
The Transfer Switch is shipped inside the enclosure (ATS
side) in the fully engaged position. Before installing the
enclosure remove the Transfer Switch as follows:
1. Open the enclosure doors and install the two ramps
(stored on right side).
2. Remove the Isolation Handle which is stored on the
lower right front of the Transfer Switch carriage
frame. Install the Isolation Handle onto the
protruding shaft and t urn it counte rclockwise
(approximately 10 turns) until it stops
.
3. Unplug J2 and J5 harness plugs, and roll out the
Transfer Switch. Cover it to keep it clean.
Supporting Foundation
The supporting foundation and adjacent area must be
level and straight, otherwise the Transfer Switch and
enclosure may not align causi ng door problems. The
floor under the enclosure must be flat and level. This is
very important! The structure of the enclosure must be
straight and square. Allowat least 36inches forroll out of
Transfer Switch. Refer to the enclosure drawing for
required door openi ng space.
If bottom cable entry is used, the foundation must be pre-
pared so that conduit stubs are located correctly. Refer to
appropriate enclosureoutline drawing for specified cable
entrance area and location. Provide cable bending space
andclearanceto livemetal parts.When aconcrete flooris
poured, use interlocking conduit spacercaps ora wood or
metal template to maintain proper conduit alignment.
Mounting
Refer to the enclosure outline drawing furnished with
this switch and mount the 7000 Series ATB according to
the details and i nstructions shown on the drawing.
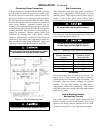
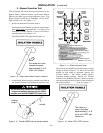
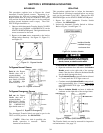
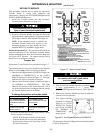
Boltthe cubicle sectionstogether sothat theyare linedup
on the front faces. See Figure 1–1.
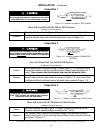
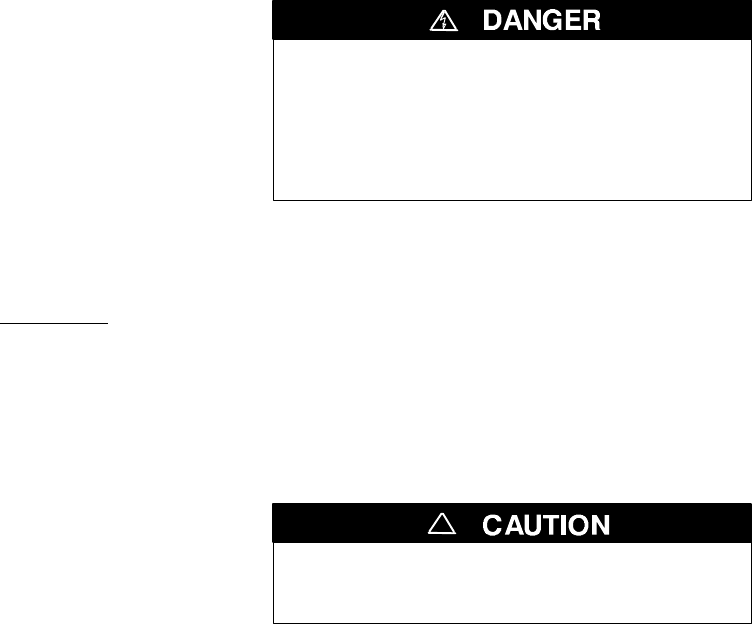
De–energize the conductors before making any
line or auxiliary circuitry connections. Be sure
that Normal and Emergency li ne connections
are in proper phase rotation. Place engi ne gen-
erator starting cont rol in the OFF position. Make
sure engine generator is not in operation.
Testing P ower Conductors
Do not connect the power conductors to the ATB until
they are tested. Installing power cables in conduit, cable
troughs, and ceiling-suspended hangers often requires
considerable force. The pulling of cables can damage
insulation and stretch or break the conductor’s strands.
For this reason, after the cables are pulled into positi on,
and before they are connected they should be tested to
verify that they are not defective or have been damaged
during installation.
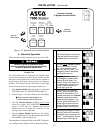
Protect the switch from construction grit
and m etal chips to p revent malfunction or
shortened life for the ATB switch.
!


