INSTALLATION (continued)
1--3
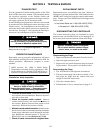
Install the Transfer Switch
After the enclosure is installed and power c abl es o r bus
con nec ted to the Bypass Switch, the Transfer Switch
carriagecanberolledin. Thefloorofthecabinetmustbe
free of debr is and cle an. If necessary, use a vac u um cl eaner .
Make a thoroug h inspection to b e sure no tools are l eft
inside. The Bypass Handle must be in the BYPASS POS
position (cl osed o n n orm al) . The Isol ation Handl e ( draw-
outcrank)mustbefullycounterclockwiseagainststop.
Do not a pply any electrical power to the ATB yet.
It is not n ecessary to remove the barriers from the bypass
switch and transfer switch. If you do remove them,
however, reinstall them carefully.
NOTE: Be sure to roll the correct Transfer
Switch into the enclosure. If more than one i s
supplied, each will be labeled above the
solenoid operator.
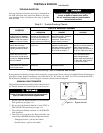
The Transfer Switch NORMAL contacts must be closed.
If not, use t he manua l operator handle (mai ntenance
handle stored on lower carriage) to manually operate the
switch. See Figure 1–10. Check that all arc chutes and
interphase barriers are in place on the Transfer Switch.
Then grasp the Transfer Switch carriage frame and roll it
into the cabinet (isolation contacts facing inward). Align
the rollers between the floor guides and push the carriage
in until its crank pins engage the latch plates on both
sides. Then follow the procedure below:
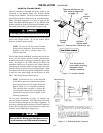
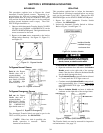
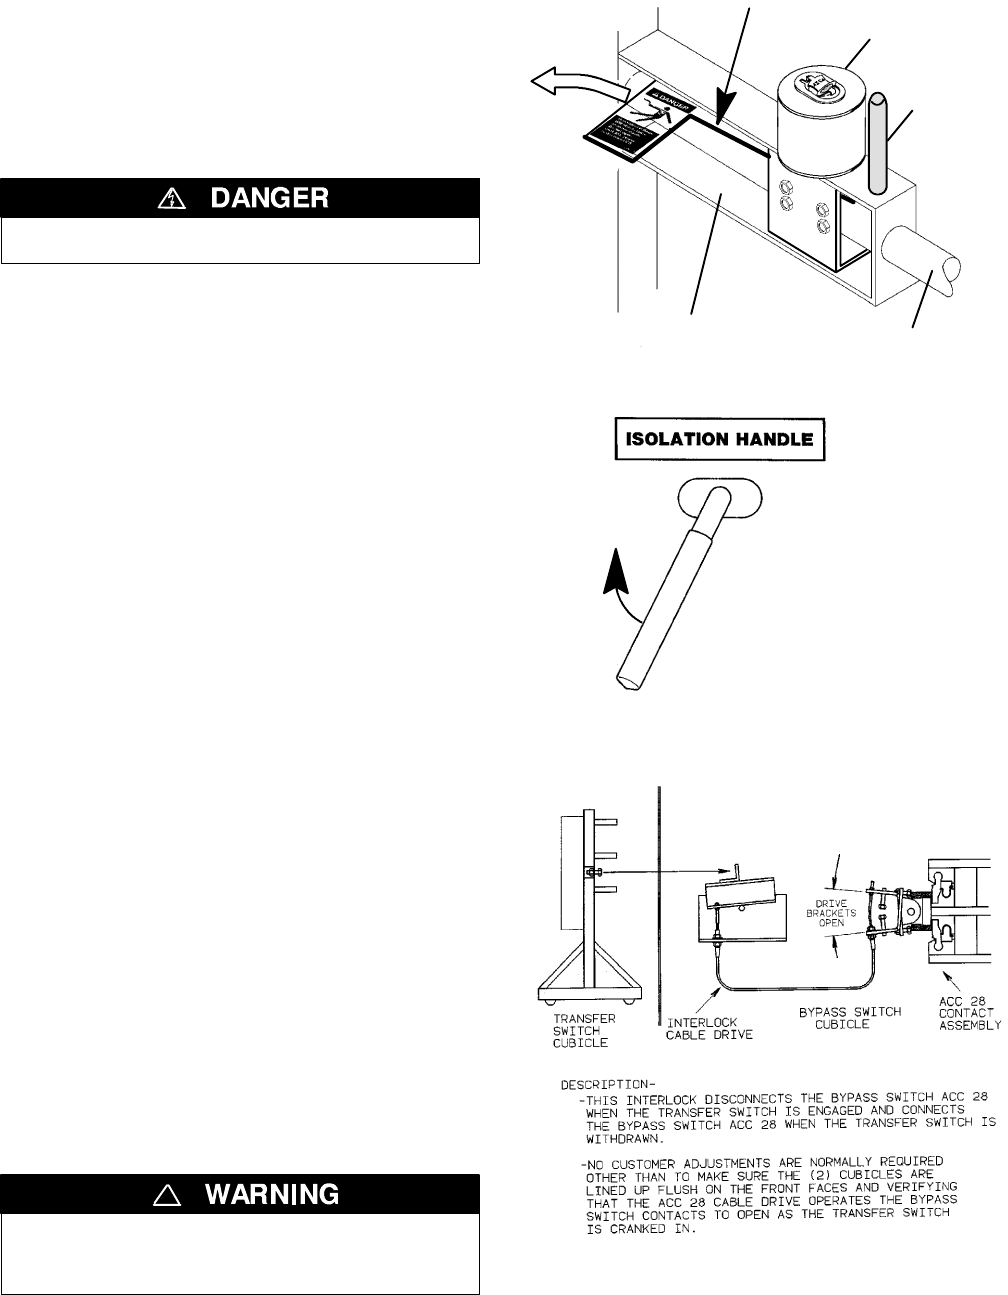
NOTE: Solenoid lock SL1 on the Isolation
shaft inhibits operation of the drawout (Isola-
tion contacts) unless the Transfer Swi tch and
Bypass Switch are in compatible positions.
This solenoid must energize to unlock. Be-
cause all power sources are de-energized, the
interference tag defeats the solenoid in the
following inspections.
Do the three inspections on page 1-4 without any
electrical power connected. The inspections will verify
that the isolation contacts are in proper alignment. If
necessary, add shims under the floor. It may be helpful to
remove the the right side of the enclosure to expose the
isolation contacts during the inspections.
Do not apply any power to the Bypass Switch.
Be sure that the N ormal and Emergency source
circuit breakers are OPEN before proceeding.
!
SL1
solenoid
lock
Remove interference tag
after making inspection
on page 1-4.
Isolation
Handle shaft
carriage
frame
handle
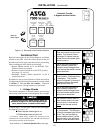
Figure1–2. Solenoid latch interference t ag.
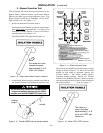
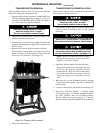
Turn the d raw-out
crank while checking
alignment of the
isolation contacts.
Figure 1–3. Isolation Handle.
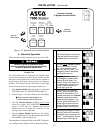
Transfer Switch
NOMINAL CONTACT GAP 1/8” WHEN OPEN.
Figure 1–4. Switched neutral interlock.


