


Using the EPSON TWAIN Utilities Page 61
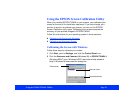
Acquiring and Exporting
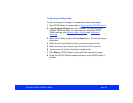
To scan and export an image in one operation, follow these steps:
1 Start EPSON Scan! II as described in Scanning with EPSON Scan! II
.
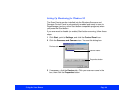
2 Select Acquire & Export from the File menu. You see one of the
EPSON TWAIN windows. For instructions on selecting EPSON
TWAIN settings, see Selecting Basic Settings
and Advanced
Scanning.
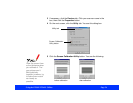
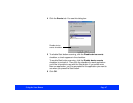
3 When you’re ready to scan, click the Scan button. You see the Export
dialog box.
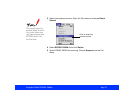
4 Select the drive and folder in which you want to export the file.
5 Select the format you want to use in the Export File Format list.
6 Type a name for the file in the Export image as list.
7 Click Export. EPSON Scan! II scans and then exports the image.
8 Close the EPSON TWAIN window and return to the EPSON Scan! II
window.