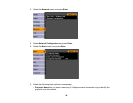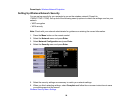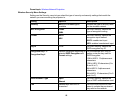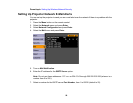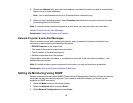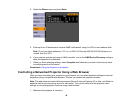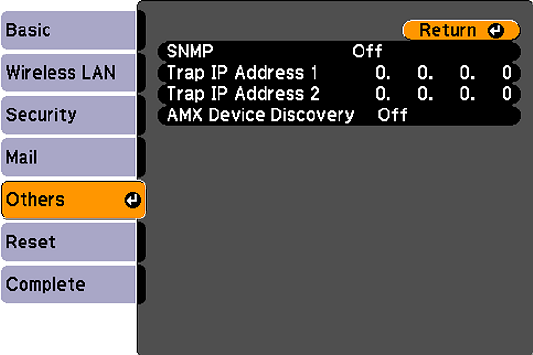
4. Select the Others menu and press Enter.
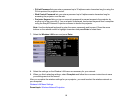
5. Enter up to two IP addresses to receive SNMP notifications, using 0 to 255 for each address field.
Note: Do not use these addresses: 127.x.x.x or 224.0.0.0 through 255.255.255.255 (where x is a
number from 0 to 255).
6. If your network environment uses an AMX controller, turn on the AMX Device Discovery setting to
allow the projector to be detected.
7. When you finish selecting settings, select Complete and follow the on-screen instructions to save
your settings and exit the menus.
Parent topic: Using the Projector on a Network
Controlling a Networked Projector Using a Web Browser
Once you have connected your projector to your network, you can select projector settings and control
projection using a compatible web browser. This lets you access the projector remotely.
Note: The web setup and control features support Microsoft Internet Explorer 6.0 or later, and Safari on
networks that do not use a proxy server for connection. You cannot select all of the projector menu
settings or control all projector functions using a web browser.
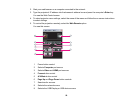
1. Make sure the projector is turned on.
58


