


Using the Projector
31
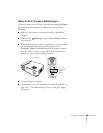
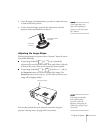
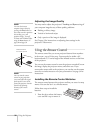
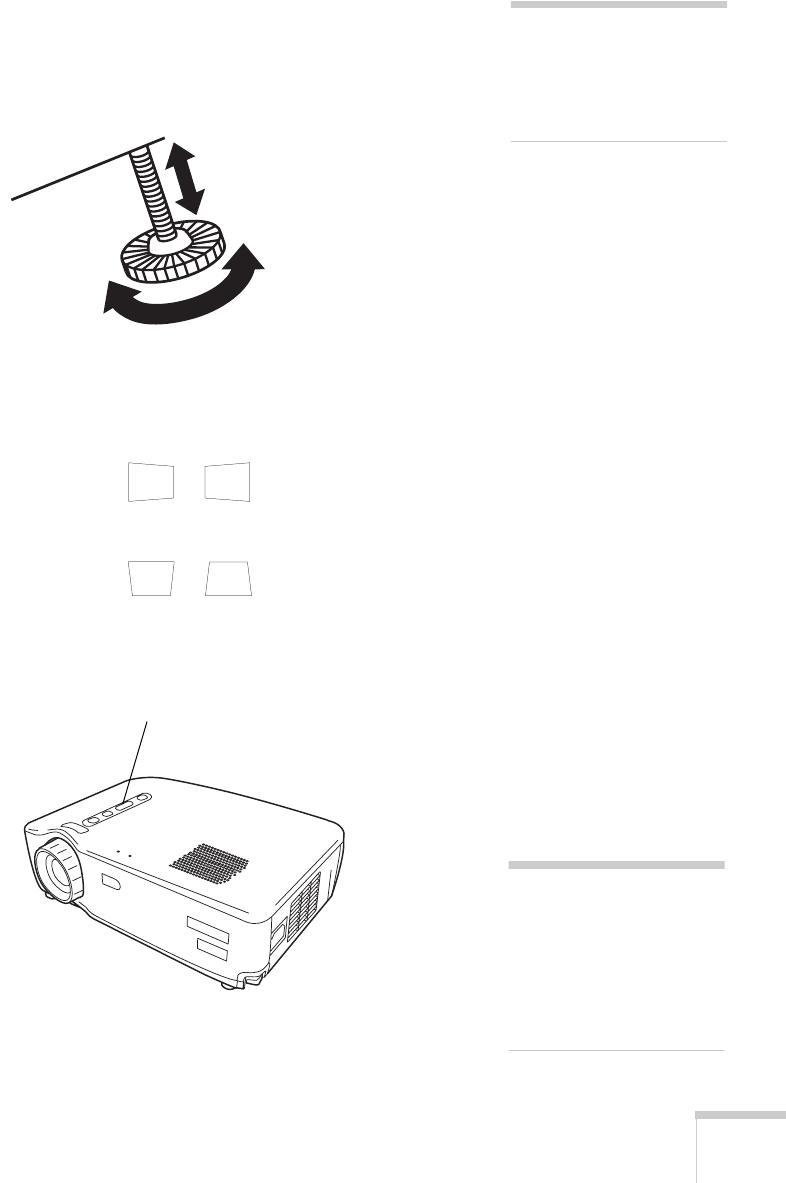
3. Once the image is positioned where you want it, release the levers
to lock the feet into position.
4. To fine-tune the height, rotate the feet clockwise to raise the
projector and counterclockwise to lower it.
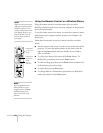
Adjusting the Image Shape
If the projected image isn’t square or has a “keystone” shape, do one or
more of the following:
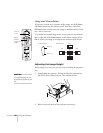
■
If your image looks like or , you’ve placed the
projector off to one side of the screen, at an angle. Move it directly
in front of the center of the screen, facing the screen squarely.
■
If your image looks like or , press the
+
or
—
side of
the
Keystone
button to correct the shape of the image. The
Keystone
button corrects up to a 15° tilt. After correction, your
image will be slightly smaller.
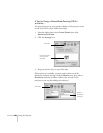
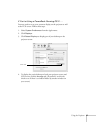
You can also perform electronic keystone correction using the
projector’s Setting menu. See page 44 for instructions.
note
If the image shape is not
square after adjusting its
position, see the next section
for a solution.
clockwise
to raise it
counterclockwise
to lower it
Keystone button
note
If the image is noticeably
uneven after keystone
correction, reduce the
Sharpness setting using the
Video menu; see page 41 for
instructions.