Epson PowerLite 750c/760c Projector
6 - Epson PowerLite 750c/760c Projector 8/05
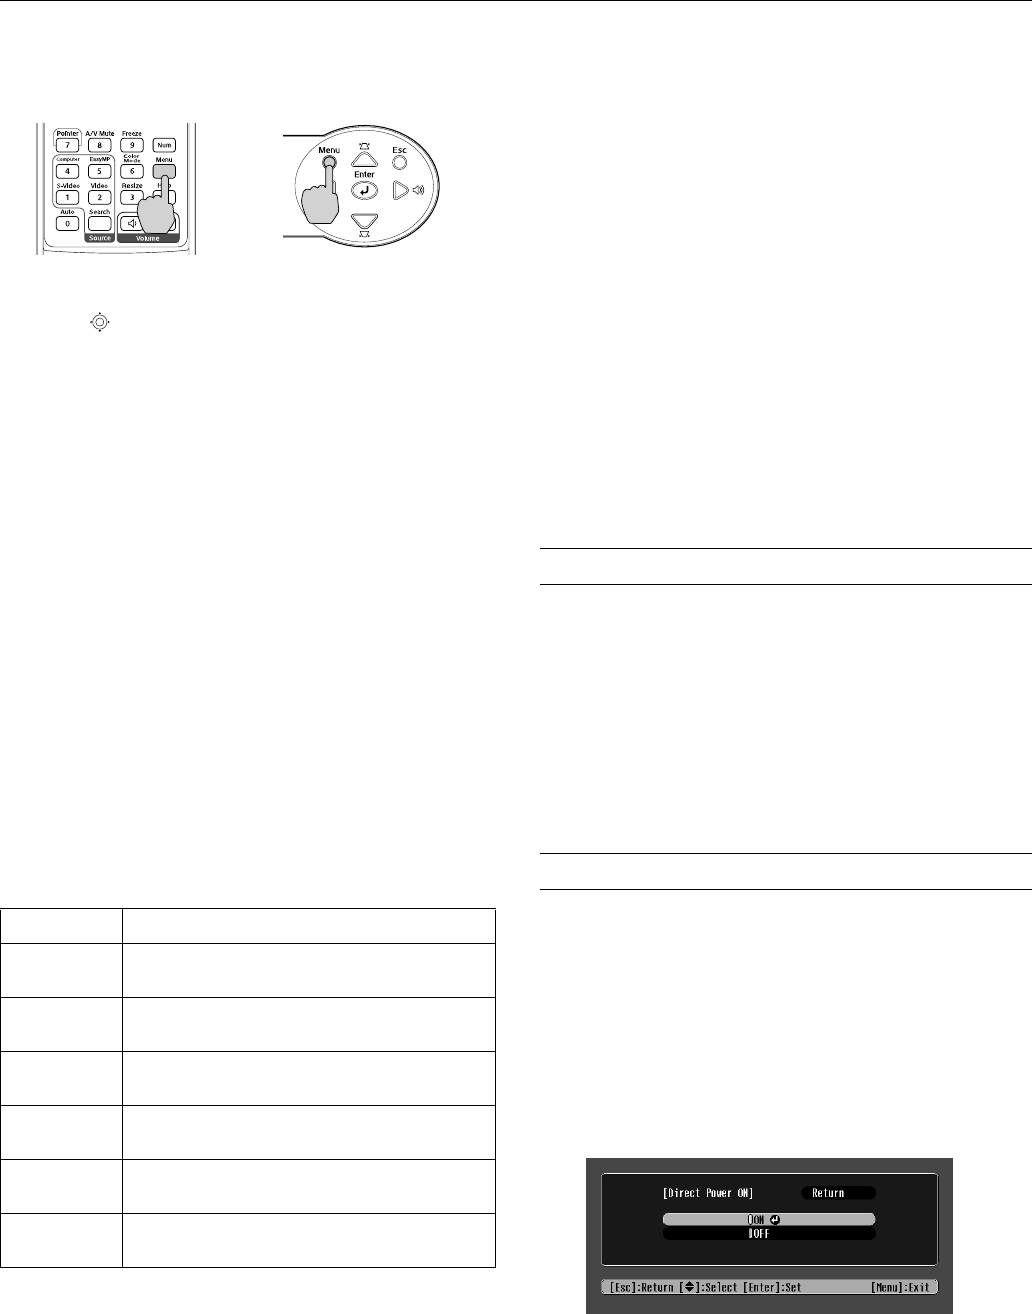
❏ Or press the
Menu button, select the Setting menu, and
press
Enter.
From the Setting menu, select
Keystone and press Enter.
Use the pointer button on the remote control to adjust
the keystone setting as needed. The keystone setting is
adjustable from –65 to +65. These numbers represent a
range of –30° to +30° of angle change; adjustments are made
in steps of 0.5°.
Note:
The image will be slightly smaller after adjusting.
Adjusting the Brightness
The brightness of an image depends on the source you are
projecting and the amount of light in the room. If the image is
too bright or not bright enough, do one of the following:
❏ Change the
Brightness setting in the Image menu.
❏ Select
Low or High for the Brightness Control option in
the Setting menu. Low Brightness mode extends the life of
the lamp and decreases the fan noise.
Adjusting the Color Mode
You may want to adjust the Color Mode option to select a
setting that is appropriate for the image you’re projecting and
the environment in which you’re projecting it.
The following table lists the available color modes.
To change the color mode, press the
Color Mode button on
the remote control until you see the mode you want. The
currently selected setting appears in the upper right corner of
the screen. You can also use the projector menu system to select
the Color Mode setting in the Image menu.
Correcting Computer Images
If you’ve connected a computer and the image doesn’t look
right, or it doesn’t fit properly on the screen, press the
Auto
button on the remote control or the
Enter button on the
projector. This automatically resets the projector’s tracking,
sync, resolution, and position settings.
Note:
You must be projecting an image for this button to have any effect.
Additionally, if the
Auto Setup option in the Signal menu is set to
OFF, the Auto function will not work.
If the
Auto button doesn’t correct the problem, you may need
to adjust the tracking or sync using the projector’s Signal menu.
Sleep Mode
When the projector has not received any input signals for
30 minutes, it automatically turns off the projector lamp and
enters “sleep mode.” This conserves electricity, cools the
projector, and extends the life of the lamp. If you are done using
the projector, unplug the power cord. If you want to start
projecting again, press the P
Power button.
You can enable sleep mode in the Extended menu under
Operation.
Using Direct Power On
The Direct Power On function enables faster setup. The
projector will start up automatically when you plug it in; you
won’t have to press the P
Power button.
Follow these steps to enable Direct Power On:
1. Press the
Menu button on the remote control and select the
Extended menu.
2. Choose
Operation and press Enter.
3. Choose
Direct Power On and press Enter.
Color mode Description
sRGB
For matching the color palette of standard sRGB
computer displays.
Dynamic
For increased brightness in bright rooms (the
default for non-computer display).
Presentation
For computer presentations (the default when
projecting from a computer with analog video).
Theatre
For optimizing movie images with increased
contrast.
Living Room
For increased brightness when playing video
games or watching TV in a bright room.
Blackboard
For projecting accurate colors on a green
chalkboard (adjusts the white point).


