


3.
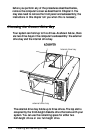
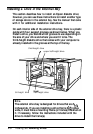
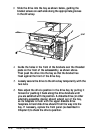
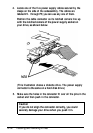
Slide the drive into the bay as shown below, guiding the
bracket screws on each side along the appropriate grooves
in the drive bay.
4.
5.
6.
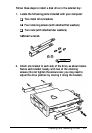
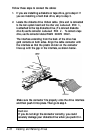
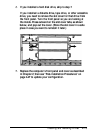
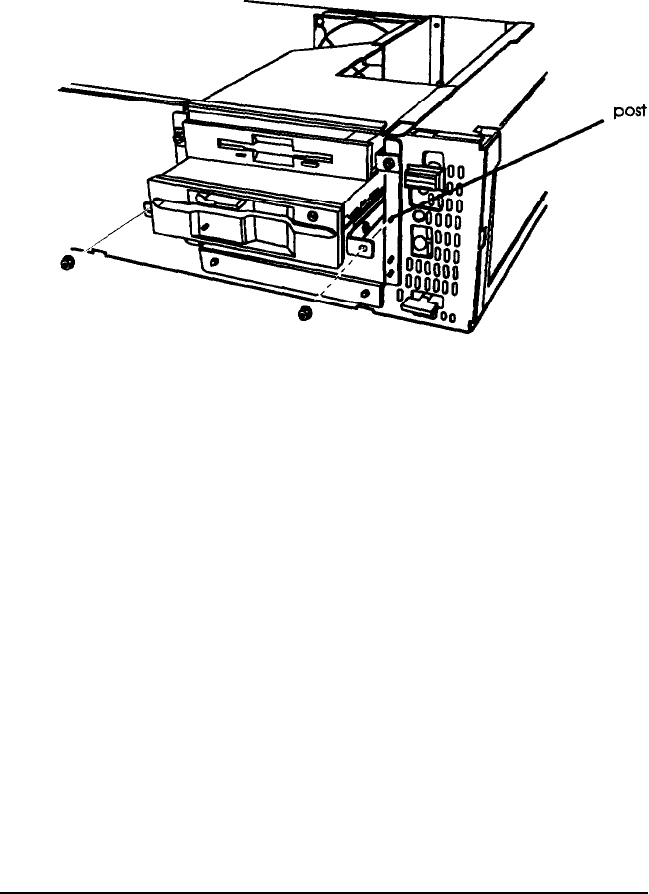
Guide the holes in the front of the brackets over the threaded
posts on the front of the subassembly, as shown above.
Then push the drive into the bay so that the bracket lies
flush against the front of the drive bay.
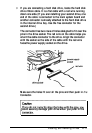
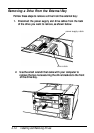
Loosely secure the drive to the drive bay temporarily with the
two nuts.
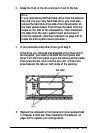
Now adjust the drive’s position in the drive bay by pulling it
forward or pushing it back along the drive brackets until
you are satisfied with its position. A diskette drive (or other
externally-accessible device) should extend out of the bay,
so its faceplate is flush with the upper diskette drive
faceplate. A hard disk drive should fit all the way into the
bay. If necessary, replace the front panel (as described in
Chapter 2) to check the drive’s position.
4-8
Installing and Removing Drives