


Extron RGB 302/304 Universal Interface • User’s Manual Page 2-2
Chapter 2 • Installing the RGB 302/304
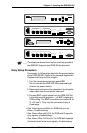
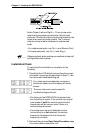
____ The Extron RGB 302/304 automatically detects which
cables are connected and sends sync signals to the
correct output.
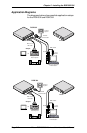
4. Connect the Analog/ECL MBC video cable from the
computer (Power PC, PC, Mac, or workstation) to
the Analog/ECL Input connector on the RGB 302/
304 and to the local monitor. See note below.
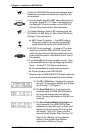
____ If a Laptop Breakout Cable (LBC) is being used, set
DIP Switch 3 to Off. Refer to “Rear Panel DIP Switch
Settings” in the next section.
4a. MBC Power Connector — If an MBC buffer is
being used, plug the phone jack into the MBC
power female connector of the RGB 302/304.
5. RS-232 Control (optional) — If using a PC or other
system to control the RGB 302/304, connect the
cable here (pinouts and interface specifications are
given under the section
“Installation Check”
later in
this chapter).
6. Turn power On at the local computer monitor. Next,
turn power On at the computer supplying the video
input — (Power PC, PC, Mac or workstation).
6a. Turn power On at the data monitor/projector.
6b. Connect power to the RGB 302/304.
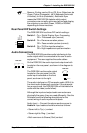
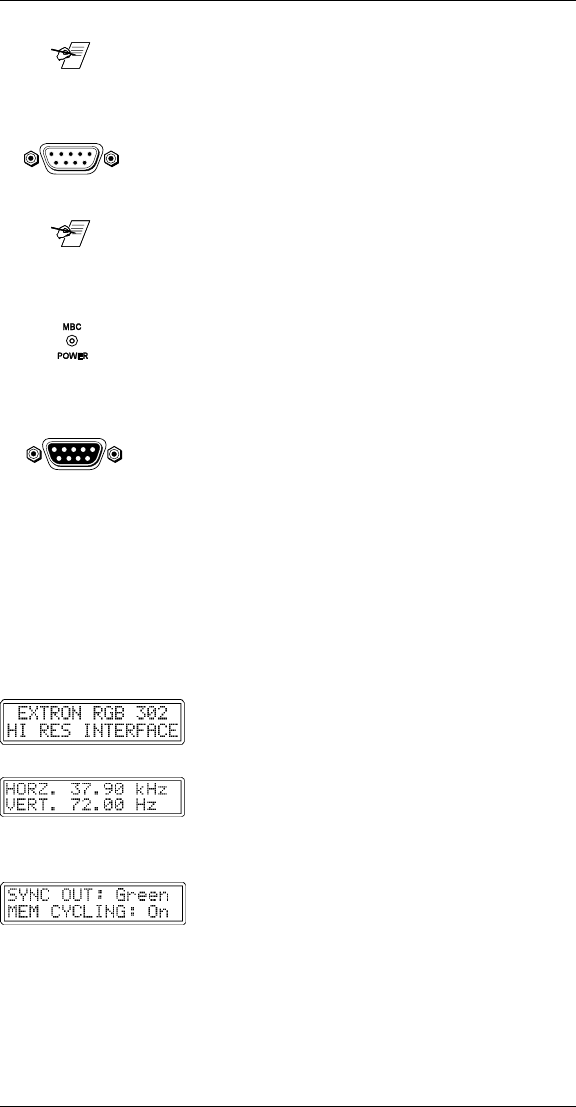
7. Observe that the RGB 302/304 LCD display lights up
and cycles through the three default menus (below).
7a. The ID or Title Menu - Displays the name of
the unit. To change this display, see
“Editing
the ID Screen”
in Chapter 3.
7b. The Scan Rate Menu - From the monitor
breakout cable, the RGB 302/304 detects
the scan rate frequencies and displays
them. The scan rate display on the left is an
example.
7c. The Sync Output-Memory Cycling Menu -
As an example, if the RGB 302/304 has
detected an output with sync on Green and
Memory Cycling is turned On, the first line
will display “Sync Out: Green” and the
second line will display “Mem Cycling: On” .
Refer to the
“Memory Cycling Feature”
section in this chapter for a detailed
explanation of Memory Cycling.
ANALOG/ECL
INPUT
RS-232