Extron RGB 302/304 Universal Interface • User’s Manual
While observing the video screen, use the cursor keys
and to adjust the vertical centering. There are
255 incremental steps for this control.
When the adjustment is complete, release the cursor
key and press
NEXT
to go to the Level Control menu,
or press
MENU
to advance to the Sync Controls
menus, or allow the time-out to occur to save any
changes.
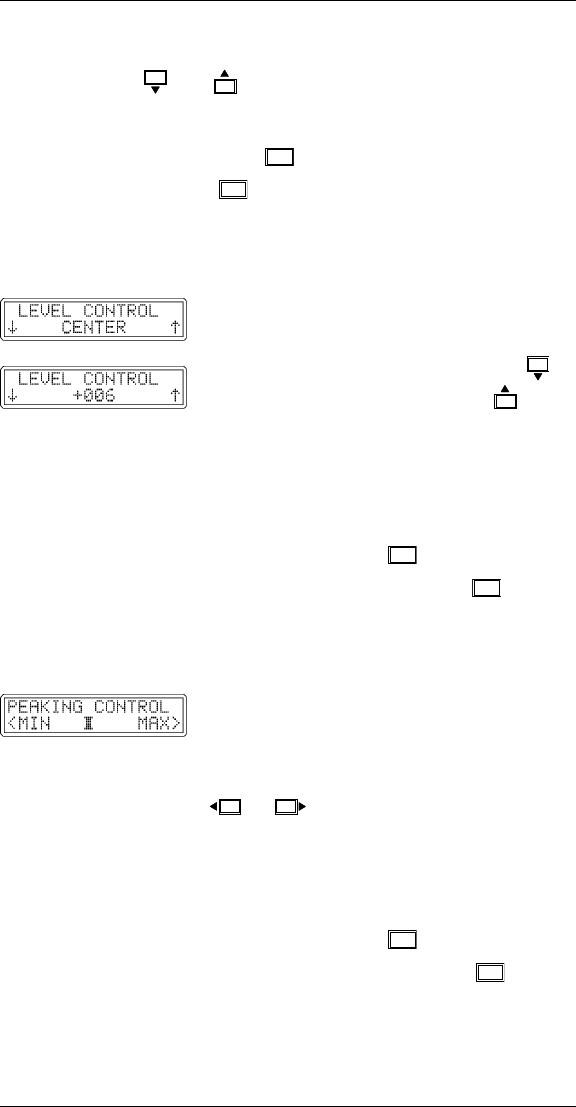
Level Control Menu
The Level Control menu is similar to the
brightness control on a data monitor. Using
this menu, the user can change the video
level (defaults to “CENTER”) using the
cursor key to lower the level or the key to
raise the level. Pressing the key once
changes the setting by 001. Holding the key
down continuously causes the setting to
change faster. There are 255 incremental
steps for this control.
When the adjustment is complete, release the
cursor key and press
to go to the
Peaking Control menu, or press
MENU
to
advance to the Sync Controls menus, or allow
the time-out to occur to save any changes.
Peaking Control Menu
The Peaking Control menu provides
compensation for losses in signal quality due
to cable capacitance. Use this control to
adjust the sharpness of the picture on the
presentation screen. Use the cursor keys
or to move the indicator to the left
or right. Observe the results on the monitor/
projection screen while making the
adjustment. There are eight possible Peaking
settings.
When the adjustment is complete, release the
cursor key and press
to return to the
Image Controls menus, or press
MENU
to
advance to the Sync Controls menus, or allow
the time-out to occur to save any changes.
Page 3-7
Chapter 3 • Front Panel Menus
