


36
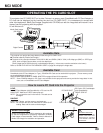
MCI MODE
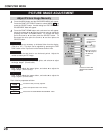
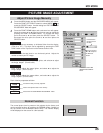
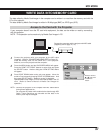
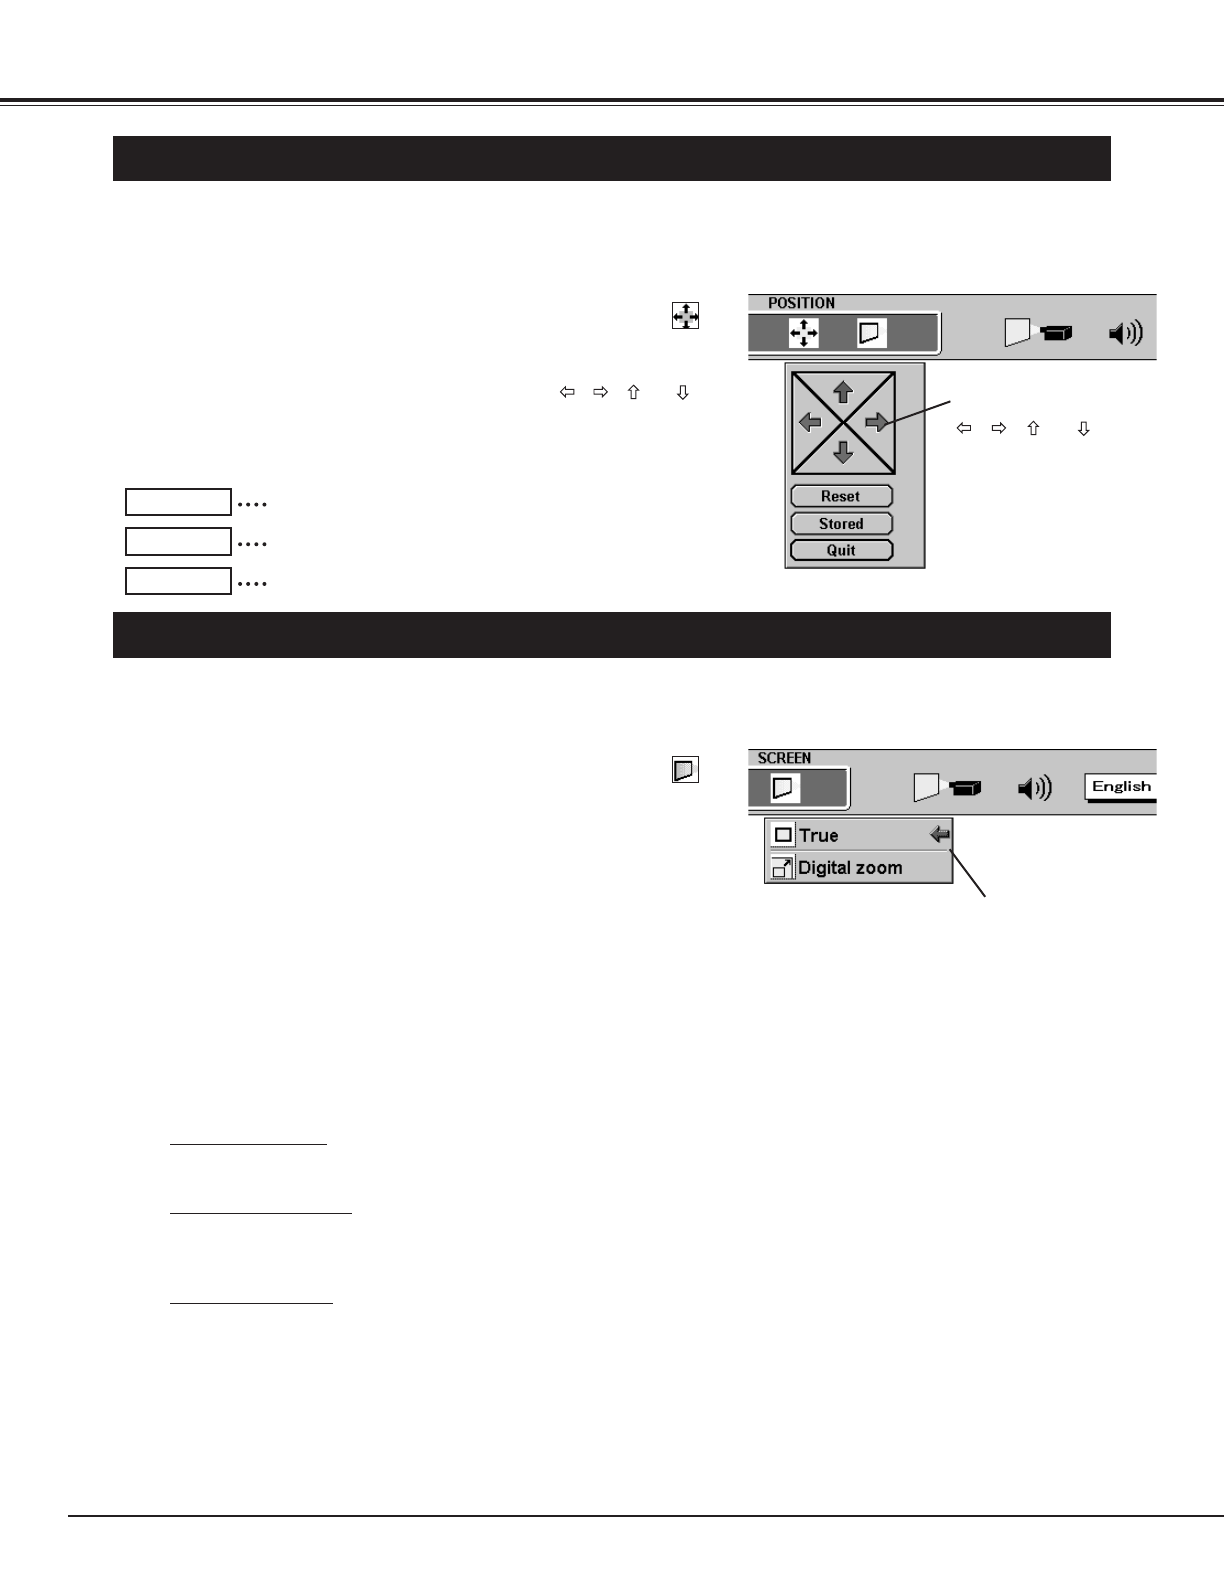
PICTURE POSITION ADJUSTMENT
The position of the image can be adjusted vertically and horizontally through PICTURE POSITION
ADJUSTMENT.
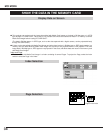
Press the MENU button and the ON-SCREEN MENU will appear.
Press the POINT LEFT/RIGHT buttons to select POSITION
and press the SELECT button. Another dialog box PICTURE
POSITION Menu will appear.
Select the arrow to the direction (described as , , or )
that you want to adjust by pressing the POINT UP/DOWN buttons,
and then press the SELECT button.
1
2
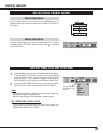
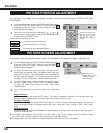
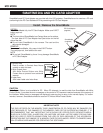
PICTURE SCREEN ADJUSTMENT
This projector has a picture screen resize function, which enables you to display the image in desirable size.
Press the MENU button and the ON-SCREEN MENU will appear.
Press the POINT LEFT/RIGHT buttons to select SCREEN
and press the SELECT button. Another dialog box PICTURE
SCREEN Menu will appear.
1
Select the arrow to the
direction (described as
, , or ),and
then press the SELECT
button.
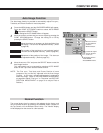
It recalls the setting data previously set.
Reset
It stores the setting data in the memory.
Stored
It terminates the PICTURE POSITION Menu.
Quit
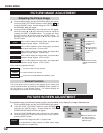
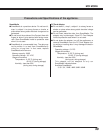
To adjust the image size or pan the image, move the arrow to
Digital zoom by pressing POINT UP/DOWN buttons and then
press SELECT button. The ON-SCREEN menu and SCREEN
ADJUST menu will disappear. The magnifying-glass icon and the
message “D. Zoom” is displayed to indicate Digital Zoom mode.
2
Expand function
To expand the image size, press SELECT button. The image is magnified by degrees. The maximum size of the
projected image in expand mode is 4 times as large as the screen size (1024 x 768).
Compress function
To compress the image size, press FRONT CLICK button. The size of image is reduced by degrees. The minimum
size of the projected image in compress mode is 640 x 48o in VGA, 800 x 600 in SVGA, or 1024 x 768 in XGA /
SXGA.
Panning function
To pan the image, press POINT UP/DOWN/LEFT/RIGHT buttons. Panning function can work only when the image is
larger than the screen size.
To cancel Digital Zoom mode, press the other buttons except
SELECT / FRONT CLICK / POINT / LASER / CURSOR buttons.
To adjust the image to the screen size (1024 x 768), press
NORMAL button.
3
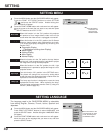
To turn the image into the screen size, select True in the dialog
box.
4
Move the arrow to
“Digital zoom” or “True”
and then press the
SELECT button.
● This projector cannot display in the resolution more than 1280 X 1024. If your computer’s screen resolution is higher
than 1280 X 1024, reset the resolution to the lower before connecting the projector.
● The image data in other than XGA (1024 x 768) is modified to fit the screen size in the initial mode.
Each of the keys operates as follow.