8
3 Daisy Chaining
3.1 Daisy Chaining
Up to sixteen units of the freeView Power 80 can be daisy chained to provide up to 128
managed power outlets. Each unit in the chain must be assigned a unique identification
number. The default ID is 0. The following procedure explains how to daisy chain multiple units
together:
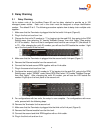
1. Make sure that the Terminator is plugged into the first unit’s iLink port (Figure 6).
2. Plug in the first unit and turn it on.
3. Change the first unit’s ID number to “1” by logging into the web GUI, then going to the RPM
Setting menu, then selecting “01” beside “Address Change” then click “Apply” (See section
4.2.10 for details). Each unit that is configured must have its own unique ID, (the default ID
is "0"). After changing the unit’s ID number, you will see the LED beside the number 1 light
up on the front panel of the first unit.
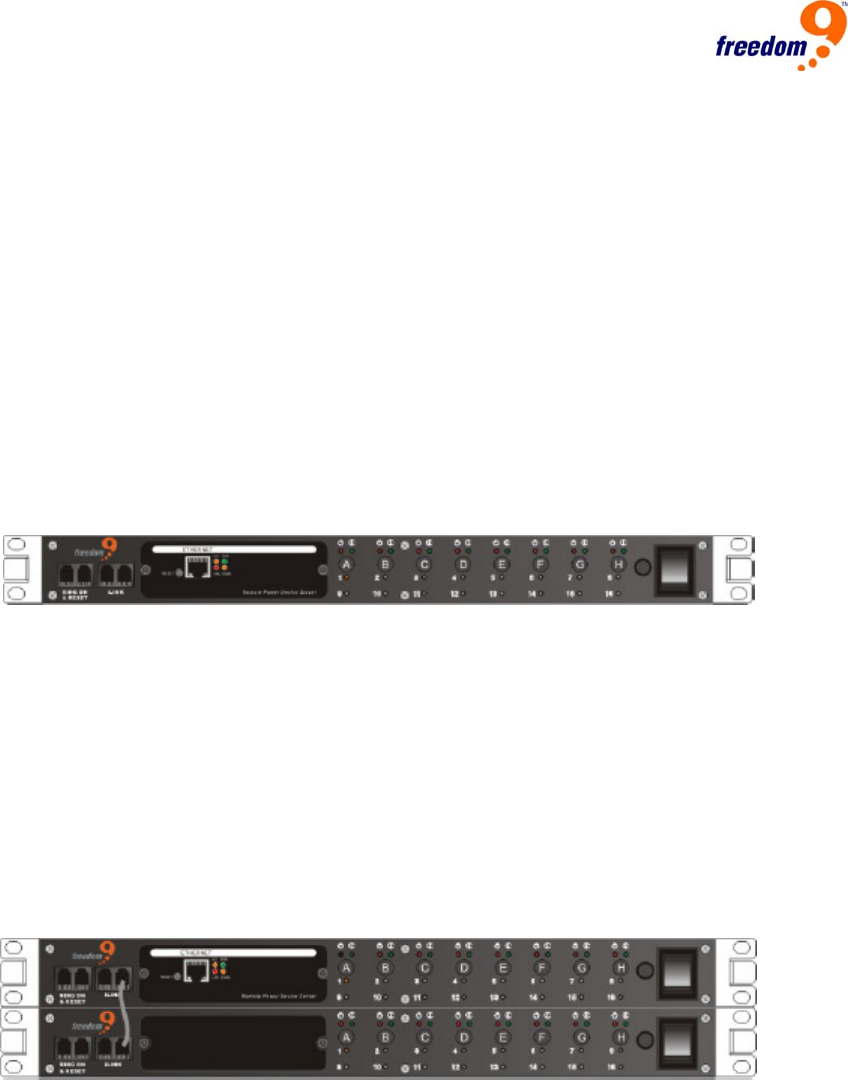
Figure 6 – First Unit with Terminator in leftmost iLink Port
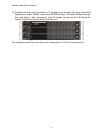
4. Make sure that the Terminator is plugged into the second unit’s iLink port (Figure 7).
5. Remove the Ethernet module from the second unit.
6. Connect the first and second RPM together with an iLink cable.
7. Plug in the second unit and turn it on.
8. Configure the second unit’s ID number to “2” by logging into the web GUI, going to the RPM
Setting menu, select “RPM00” under Select RPM, then select “02” beside “Address Change”
then click “Apply”. After changing the unit’s ID number, you will see the LED beside the
number 2 light up on the front panel of the second unit.
Figure 7 – First and Second Unit Connected with iLink Cable
9. For configurations with two units, the setup is now complete. For configurations with more
units, proceed with the following steps.
10. Remove the Terminator for the second unit.
11. Make sure that the Terminator is plugged into the third unit’s iLink port (Figure 8).
12. Remove the Ethernet module from the third unit.
13. Connect the second and third RPM together with an iLink cable.
14. Plug in the third unit and turn it on.


