


Figure 8: Trap Information
Note: In order to receive Trap information, the Switch has to be configured with the
proper Trap IP and Trap Events in the Web browser, which are available in the Trap
Setting Menu. Refer to the appropriate section for details.
Add Item: Allows you to add a Switch to the Monitor List manually by entering the IP Address of the
device that you want to monitor.
Delete Item: Allows you to delete the Switch from the Monitor List.
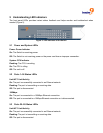
6.4 Device Setting
You can configure the Switch by using the buttons in the Device Setting section at the bottom of the
window.
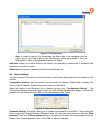
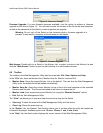
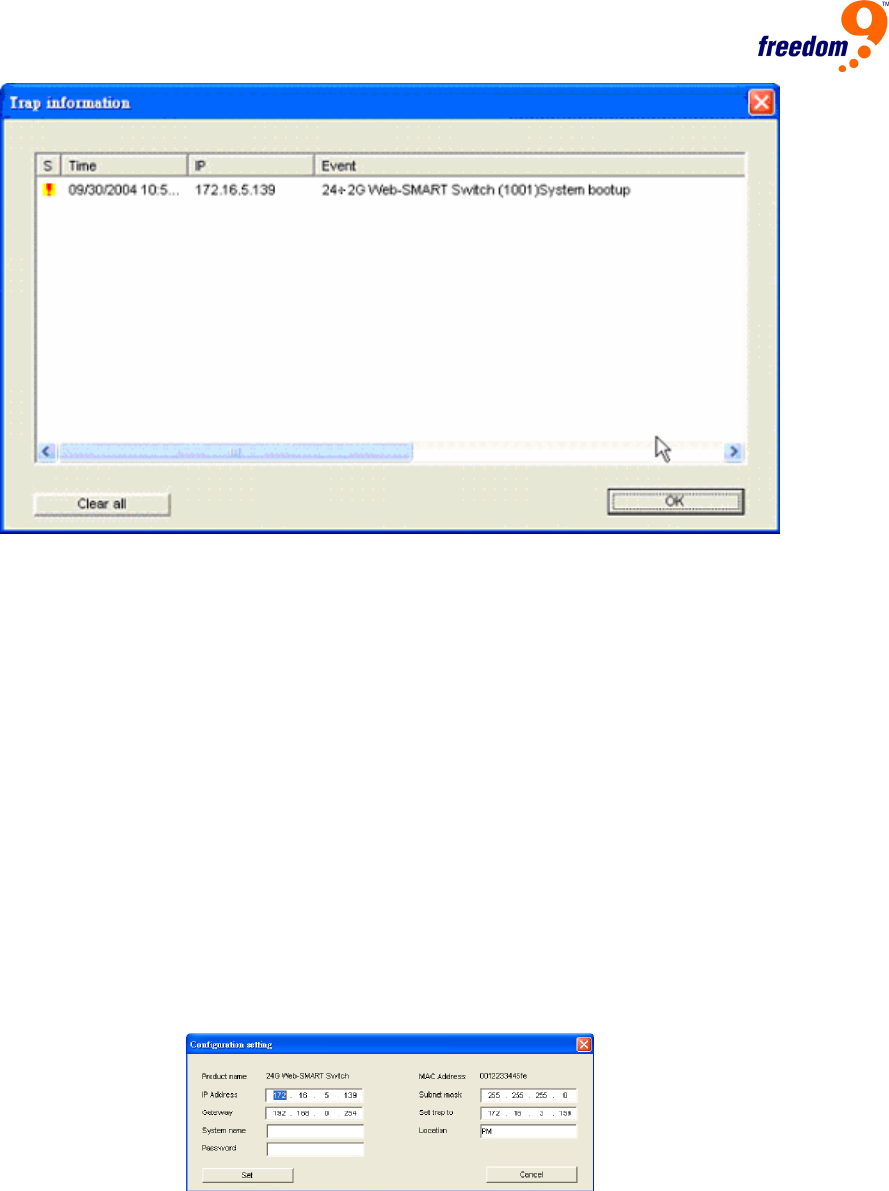
Configuration Setting: From this window, you can set the IP Address, Subnet Mask, Gateway, Set
Trap to (Trap IP Address), System Name and Location of the Switch.
Select the device in the Discovery list or Monitor List and click “Configuration Setting”. The
Configuration Setting window will open (Figure 9). After making the desired changes, you enter the
password for the Switch and click “Set” to save the changes to the Switch.
Figure 9: Configuration Setting Window
Password Change: This option allows you to change the password for the Switch. After clicking the
button to open the Change Password Window (Figure 10), enter the new password in both the “New
password” field and “Confirm password” field. You also have to enter the current password for the
Switch in the “Original password” field. Click “Set” to save the changes.